Posted on Leave a comment

Enamel Experiments on Light Switch Covers

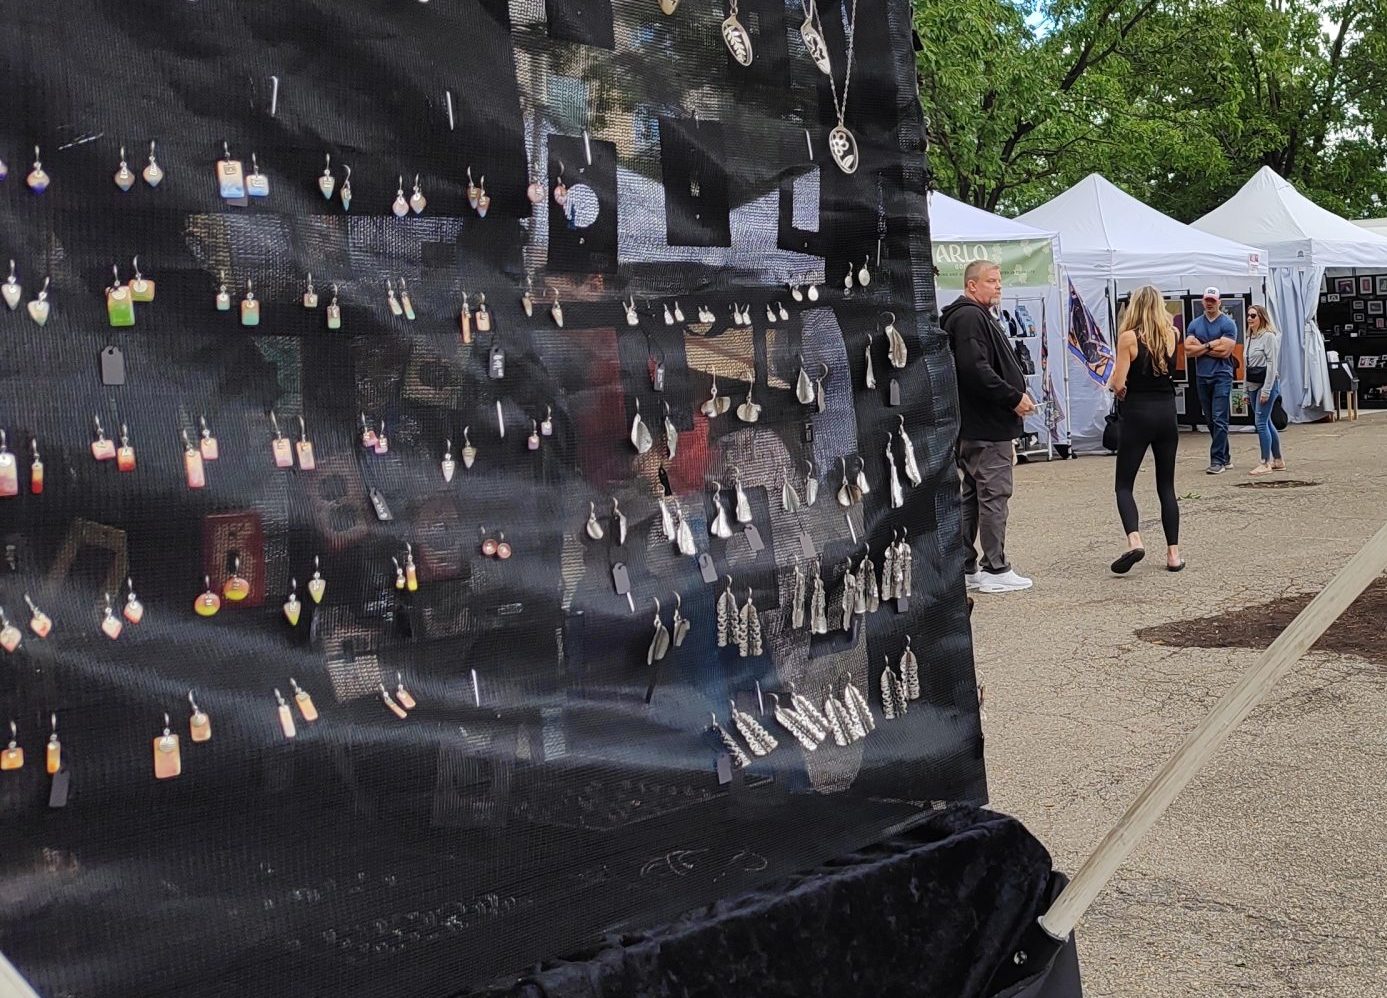
A collection of earrings by Kristin Ellis on display at an art fair
Far left: 2222 Flax Yellow, 2 center: 2610 Sky Blue, Far right: 2110 Ivory

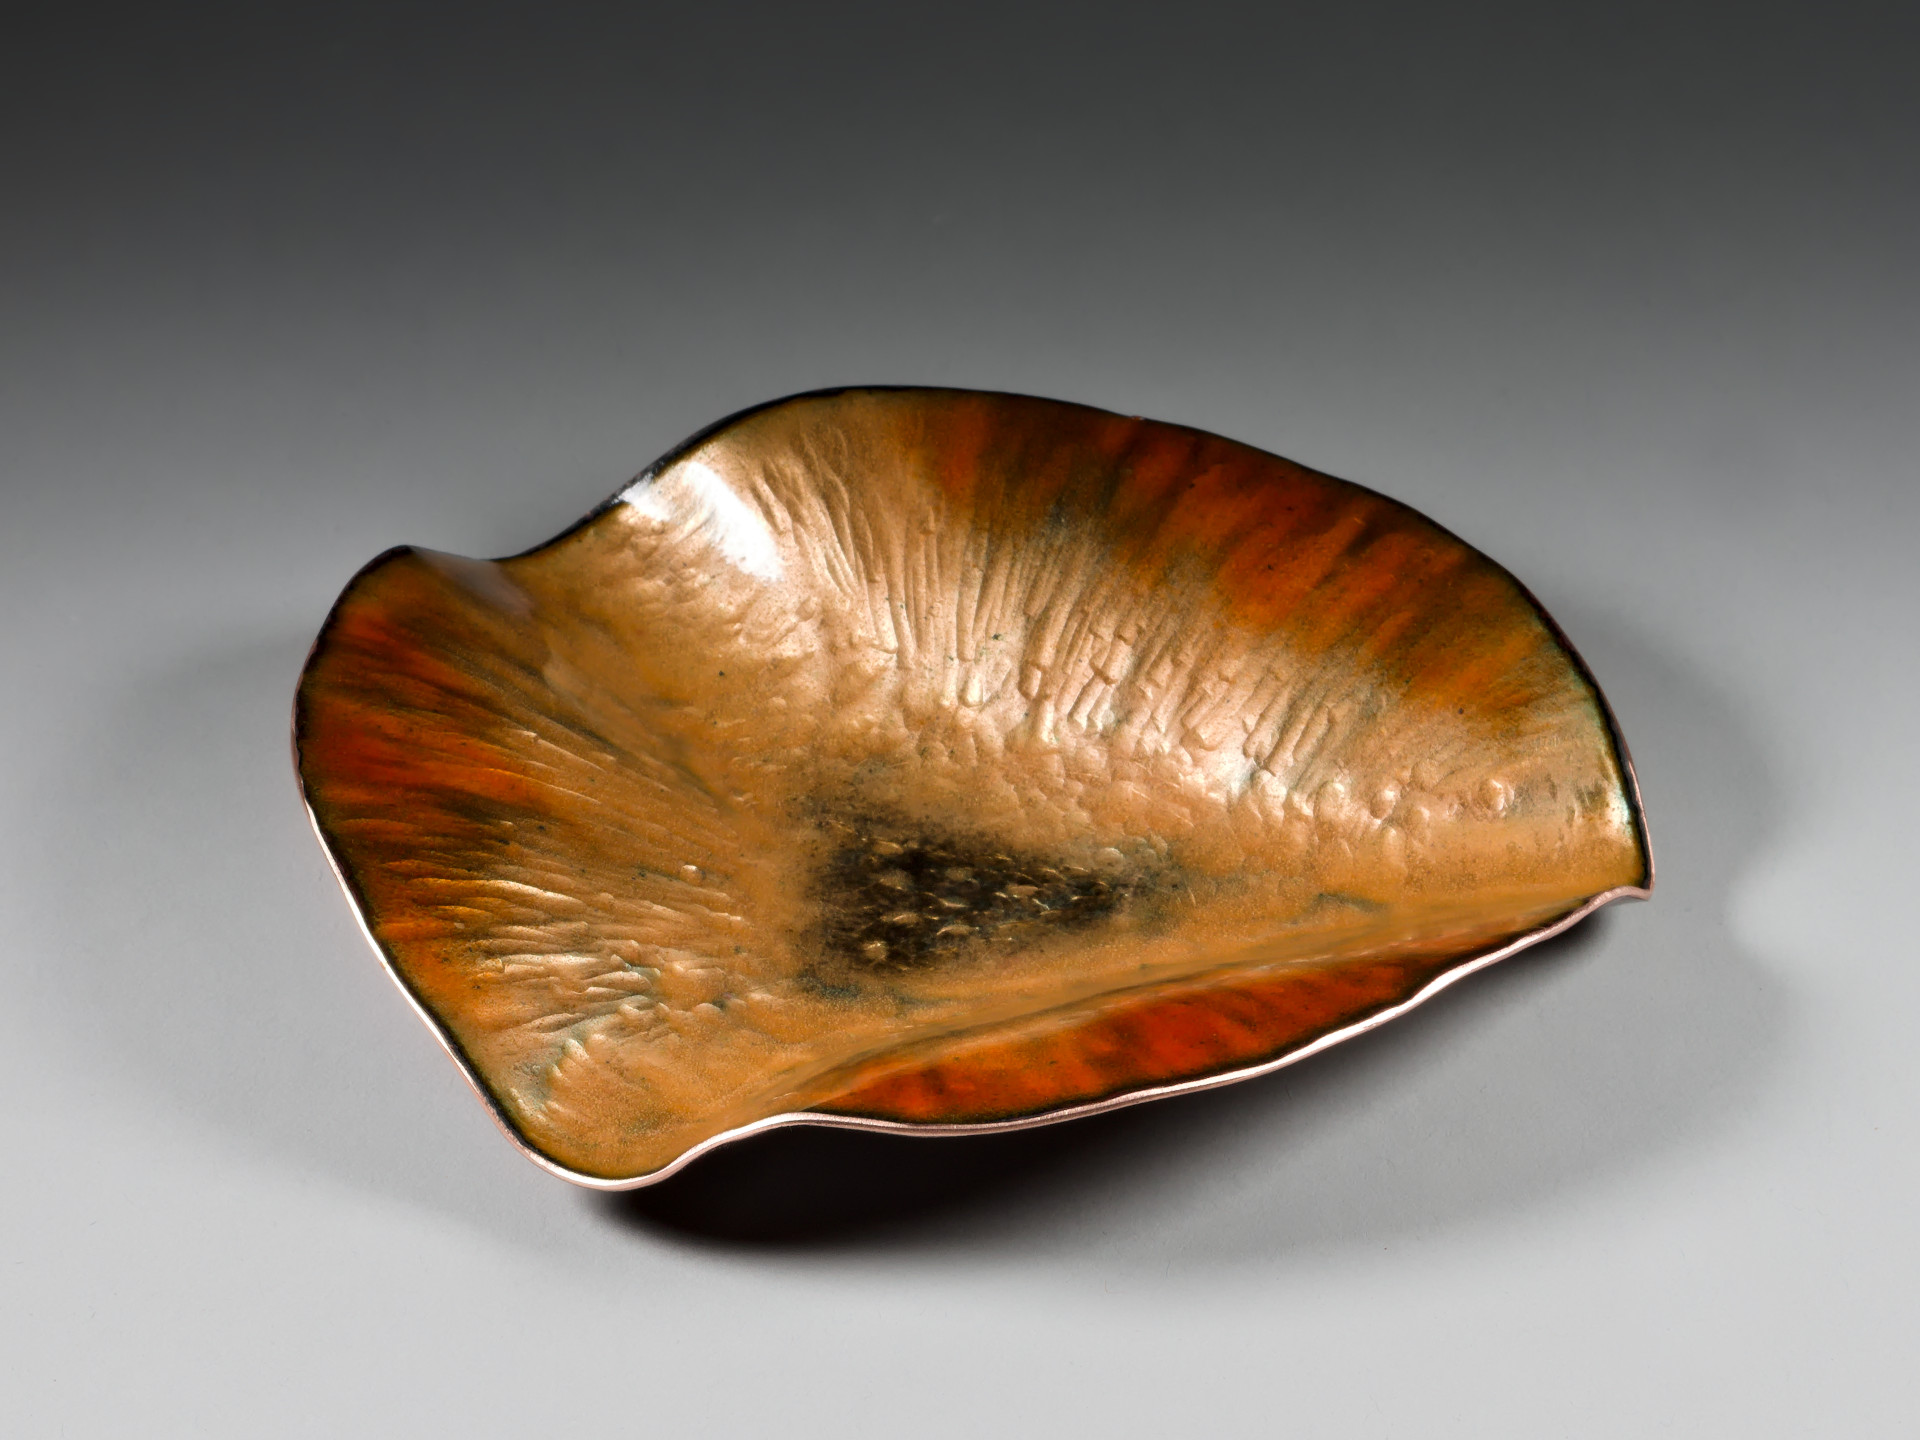
My latest improvisations in enamel were successful. I fired pale trans parents onto bare fire scaled copper and got some great effects. I fired them to 1500 degrees F. About 3 minutes total firing time.

Here are the finished pieces with more colors fired on top.
These switch plates had a more extensive fire scale pattern, and the green has an iridescent shimmer when light hits it at certain angles.

I’ll be making more of these and trying some new colors as well.

Posted on Leave a comment

First Flux Firing

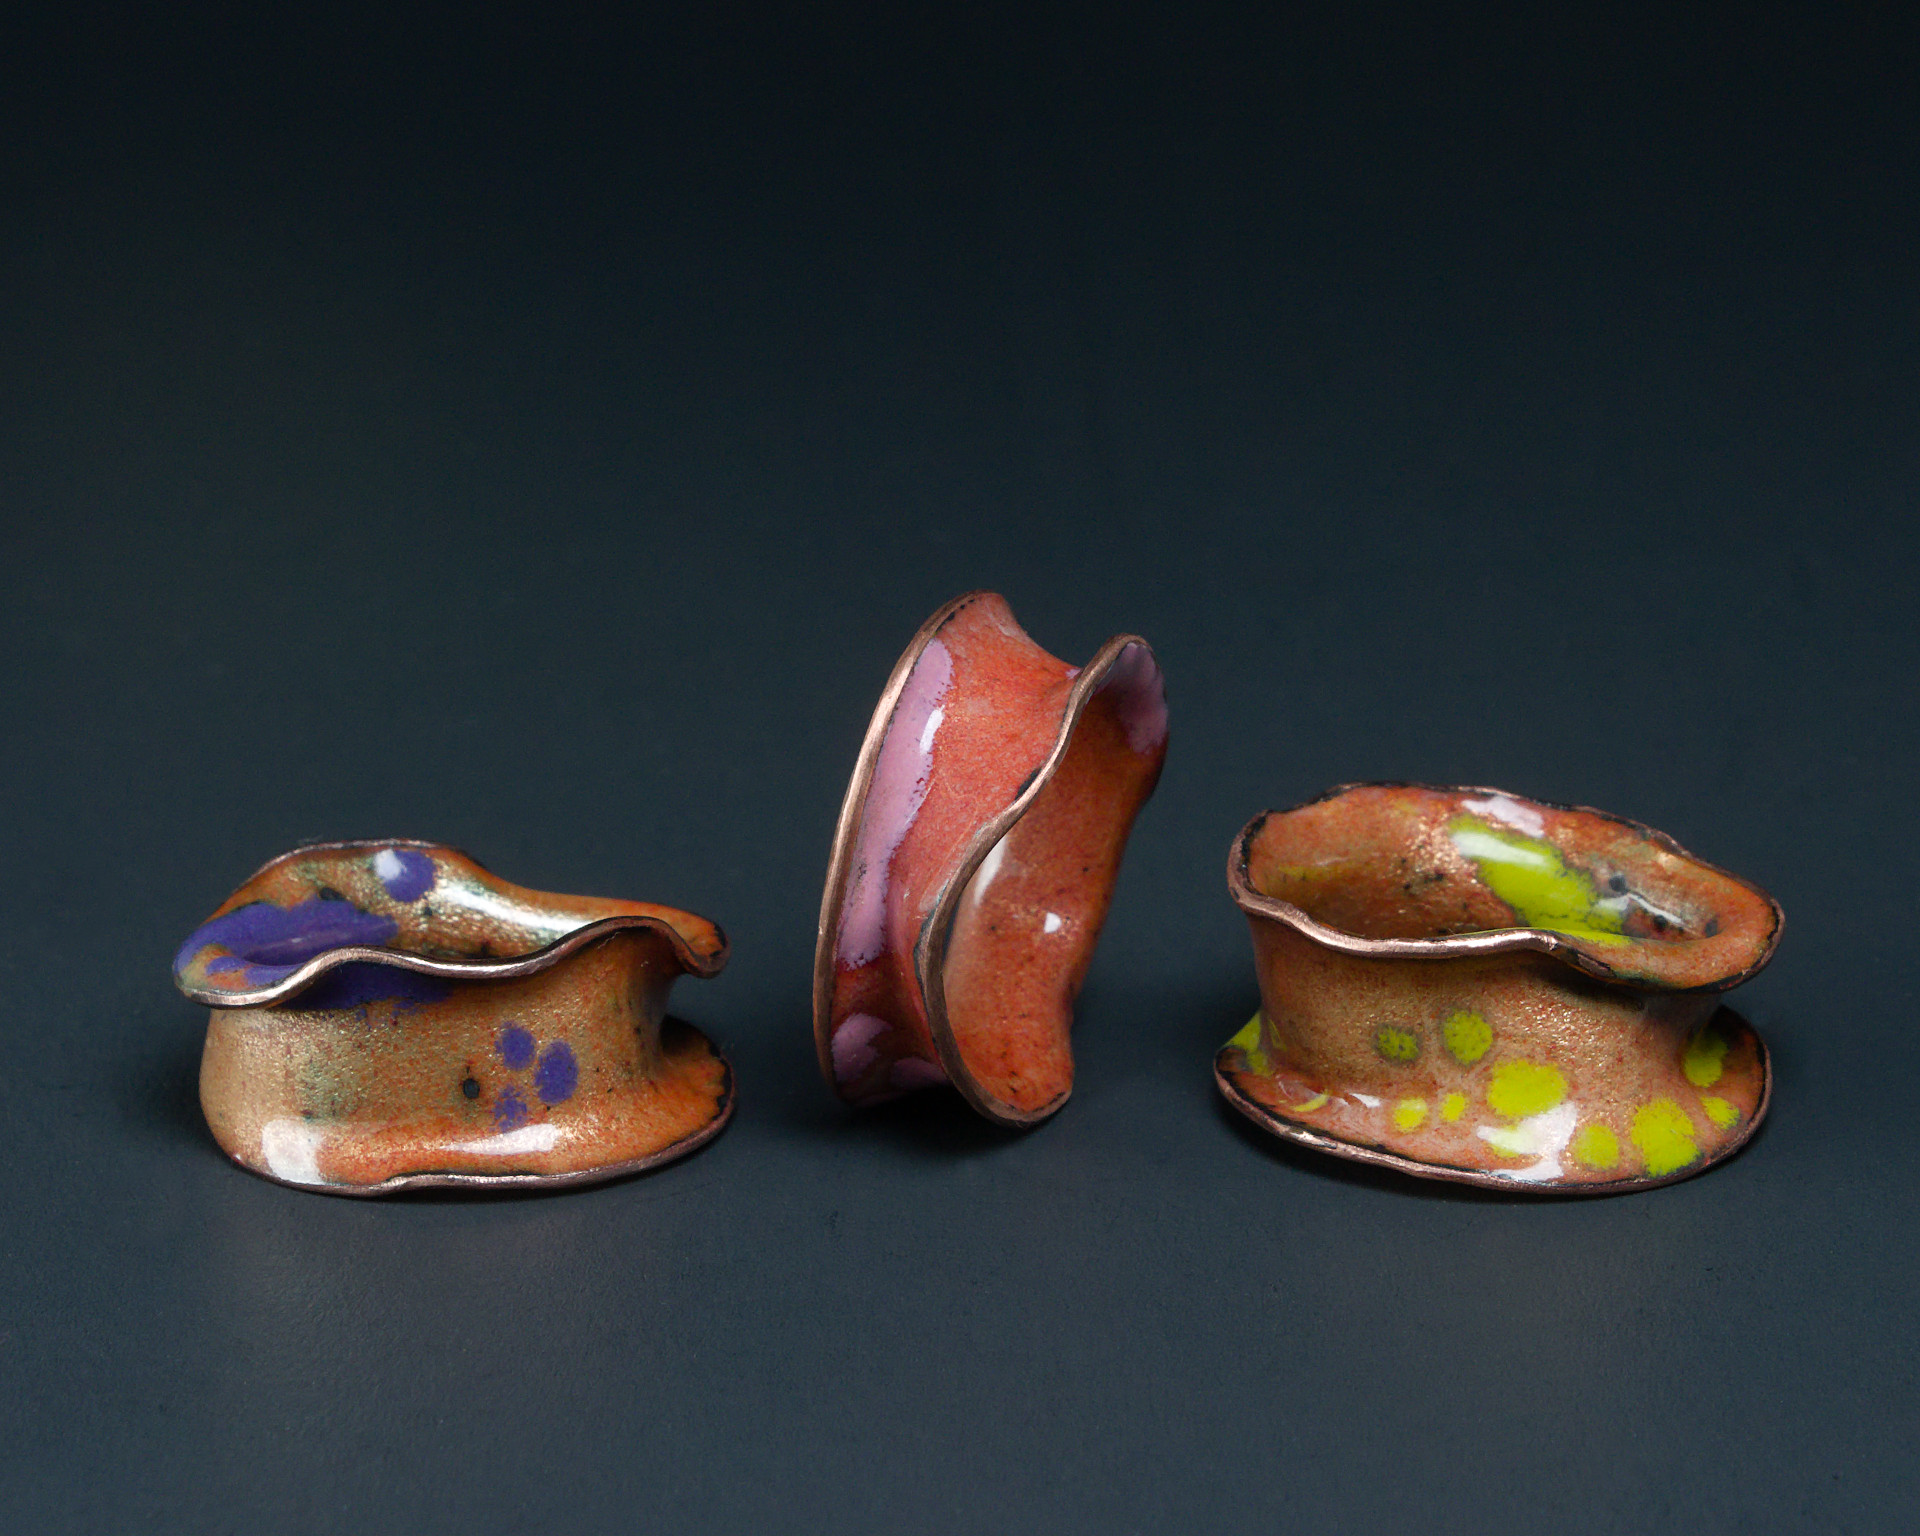
A collection of handmade rings by Kristin Ellis

Today, I refined my technique is the first firing of clear enamel over copper. This is a cool part of making lots of switch plates. The repetition shows me quickly what works and what doesn’t.

Switch Plates ready for firing

Yesterday, after firing counterenamel on the backs, I started the first high firing of transparent flux using the same kiln temperature. To my surprise, the result was a bit cloudy.

The outlet plate on the left was fired longer at 1500 and the one on the right was fired at 1700 for a shorter time. Both pieces were cleaned in pickle and wet sanded before sifting the flux.

I got the clearest, brightest results when I fired pieces up to 1500 degrees and then held for 30 seconds.

1500 degrees after about 30 seconds of firing time

After removing the plate from the kiln, I flatten it with a antique iron. This step is necessary because the glass warps the copper.

The switch plate is underneath the iron and the trivet that held it in the kiln is on the right

The next step for these pieces is adding an open color! It’s going to be fun 😊

Posted on Leave a comment

Experiments in Counterenamel

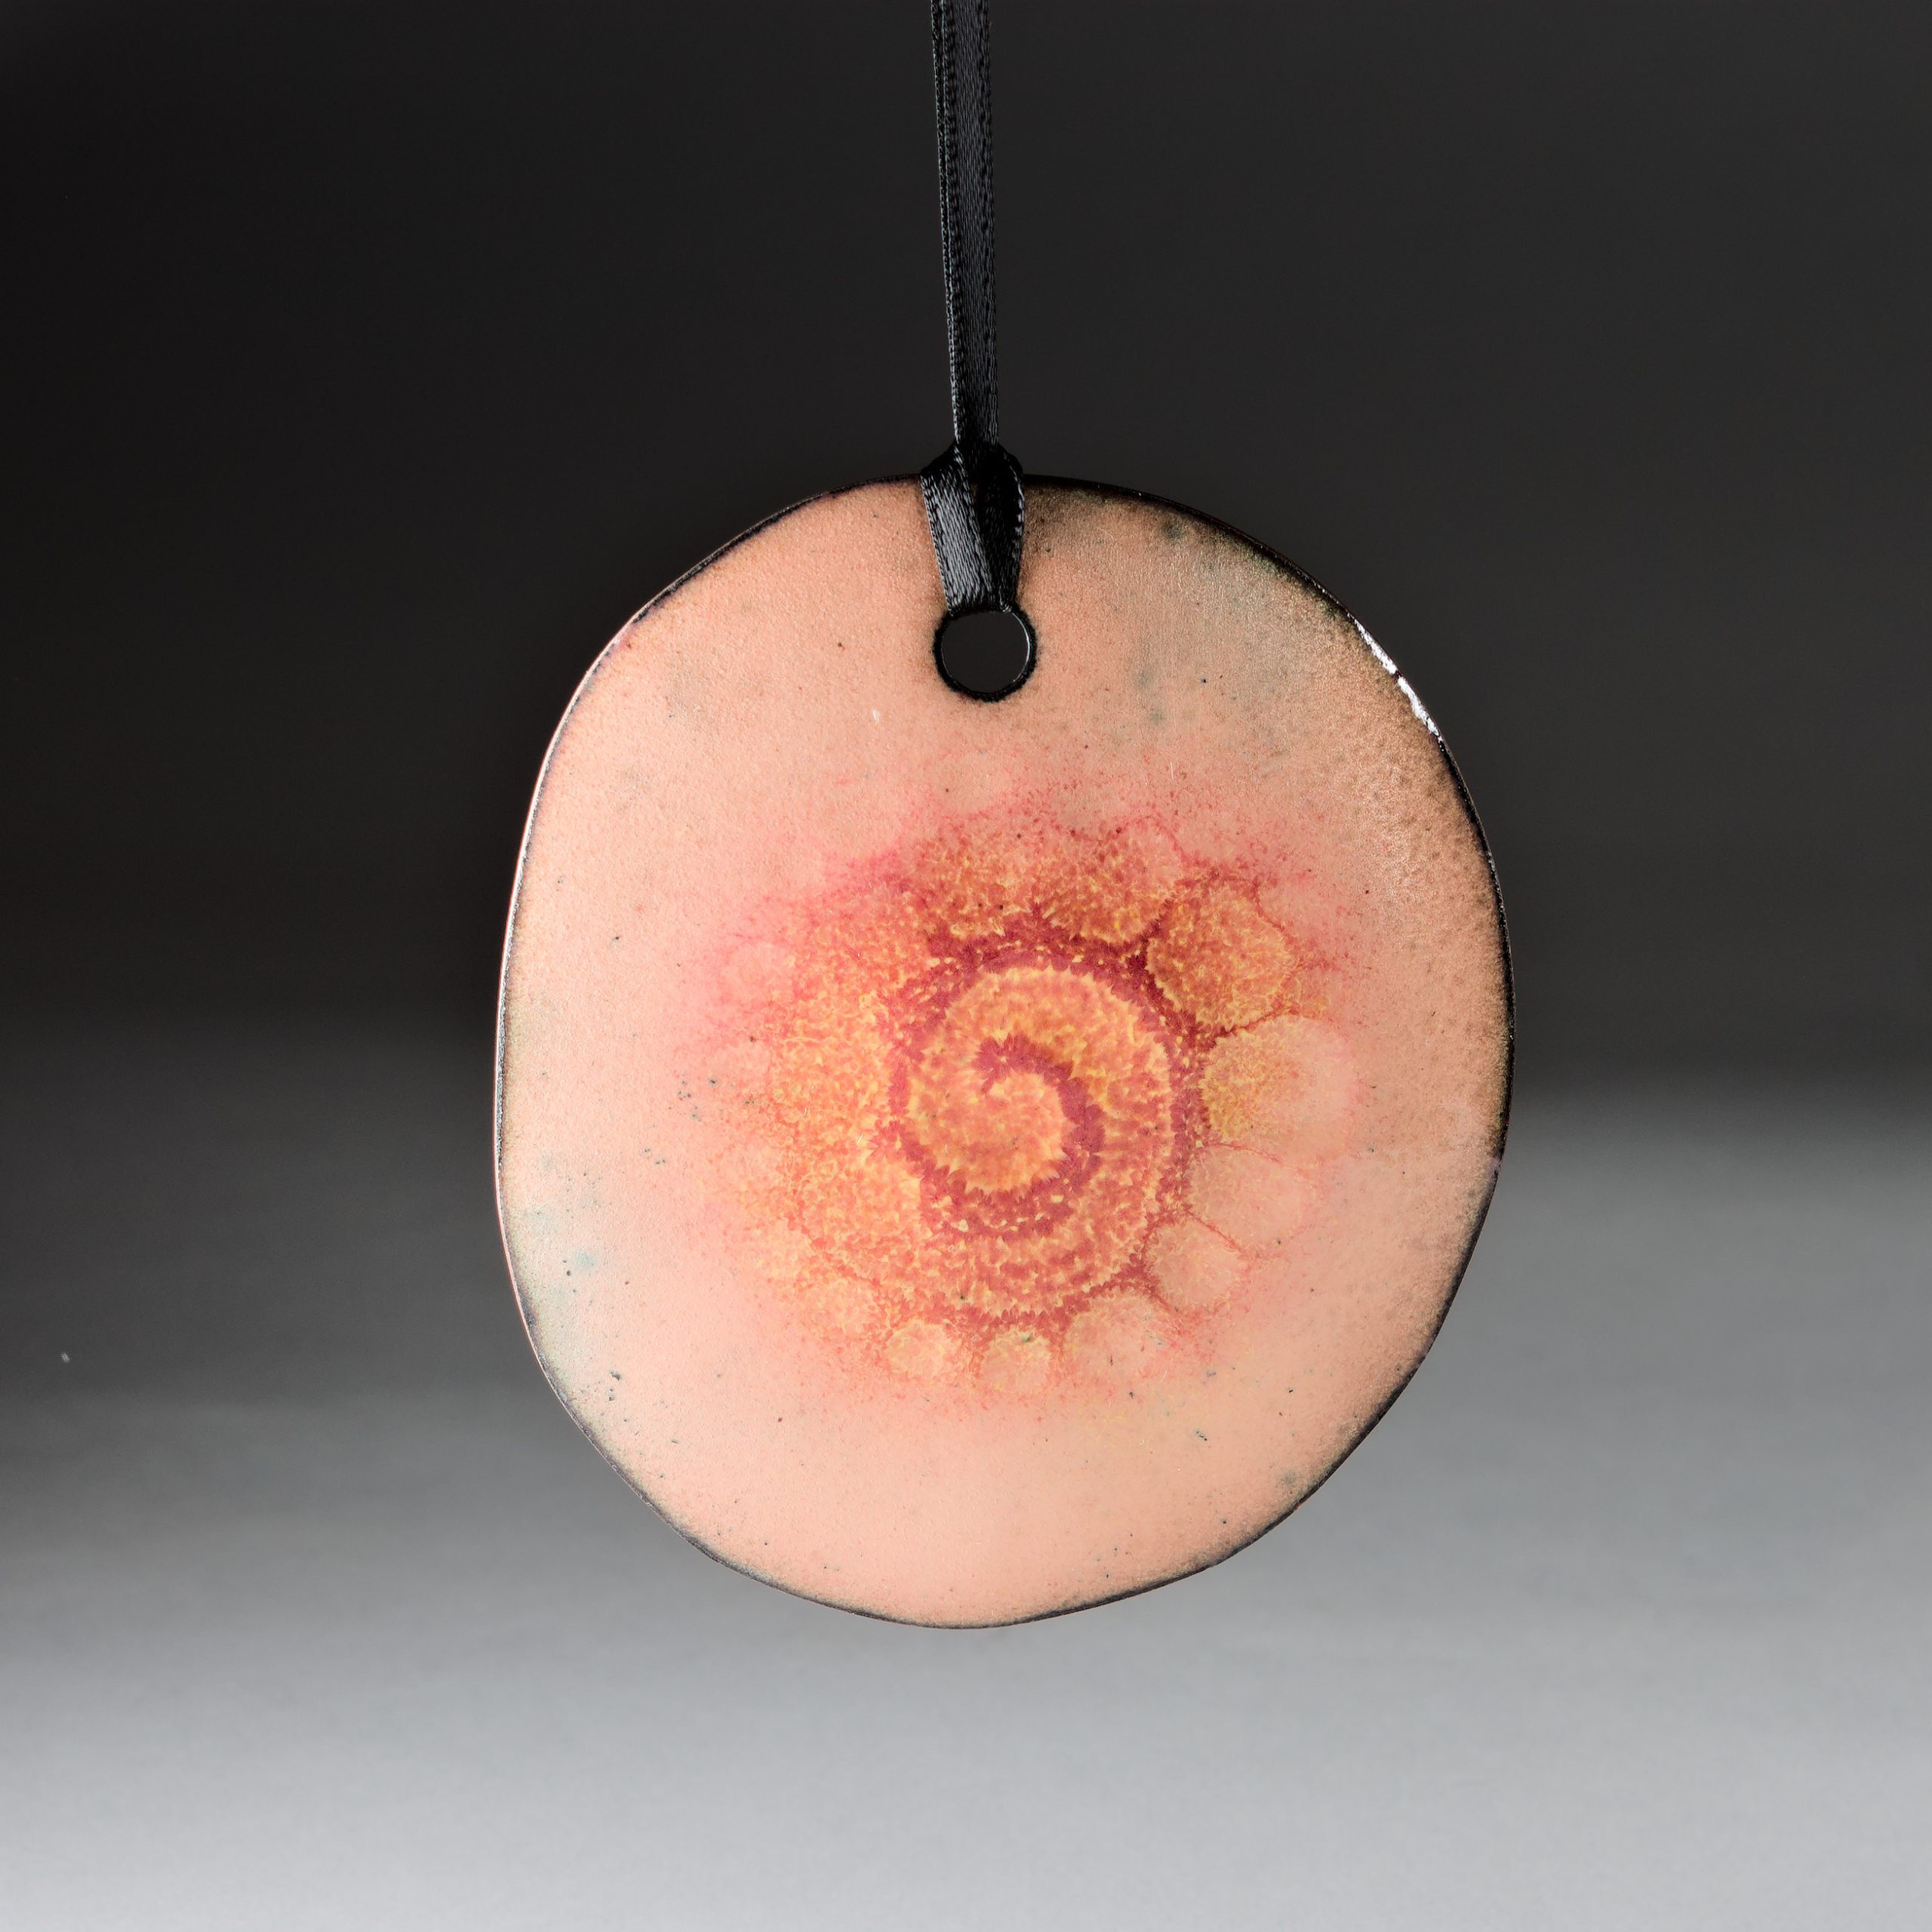
decorative ornament made from copper and enameled in glass

For most enamel work, glass must be fired onto both the front and back. This balances the expansion coefficients of the glass and metal. Tension between the two materials always exists in finished enamels.

Counterenamel is often functional, not aesthetic, especially where it won’t be seen.

The back of a light switch cover with 2 layers of counterenamel

As you can see above, I have been working with different approaches to Counterenamel. I have 5 pounds of discontinued Thompson LF 500 Counterenamel, but it likes to flake off after the second or third firing. I. That case, I have to fire another coat of different Counterenamel.

I found the solution to the LF 500 problem. I set the kiln at 1700 degrees fahrenheit and fired the Counterenamel first. Once cool, I cleaned the oxides off the front in sodium bisulfite pickle solution and proceeded to complete my design.

In some cases, I use oxide patterns in the final design, but the LF500 does its job regardless. I’m looking forward to using this vintage enamel for many future artworks!

Posted on Leave a comment

Enameling Light Switch Plates

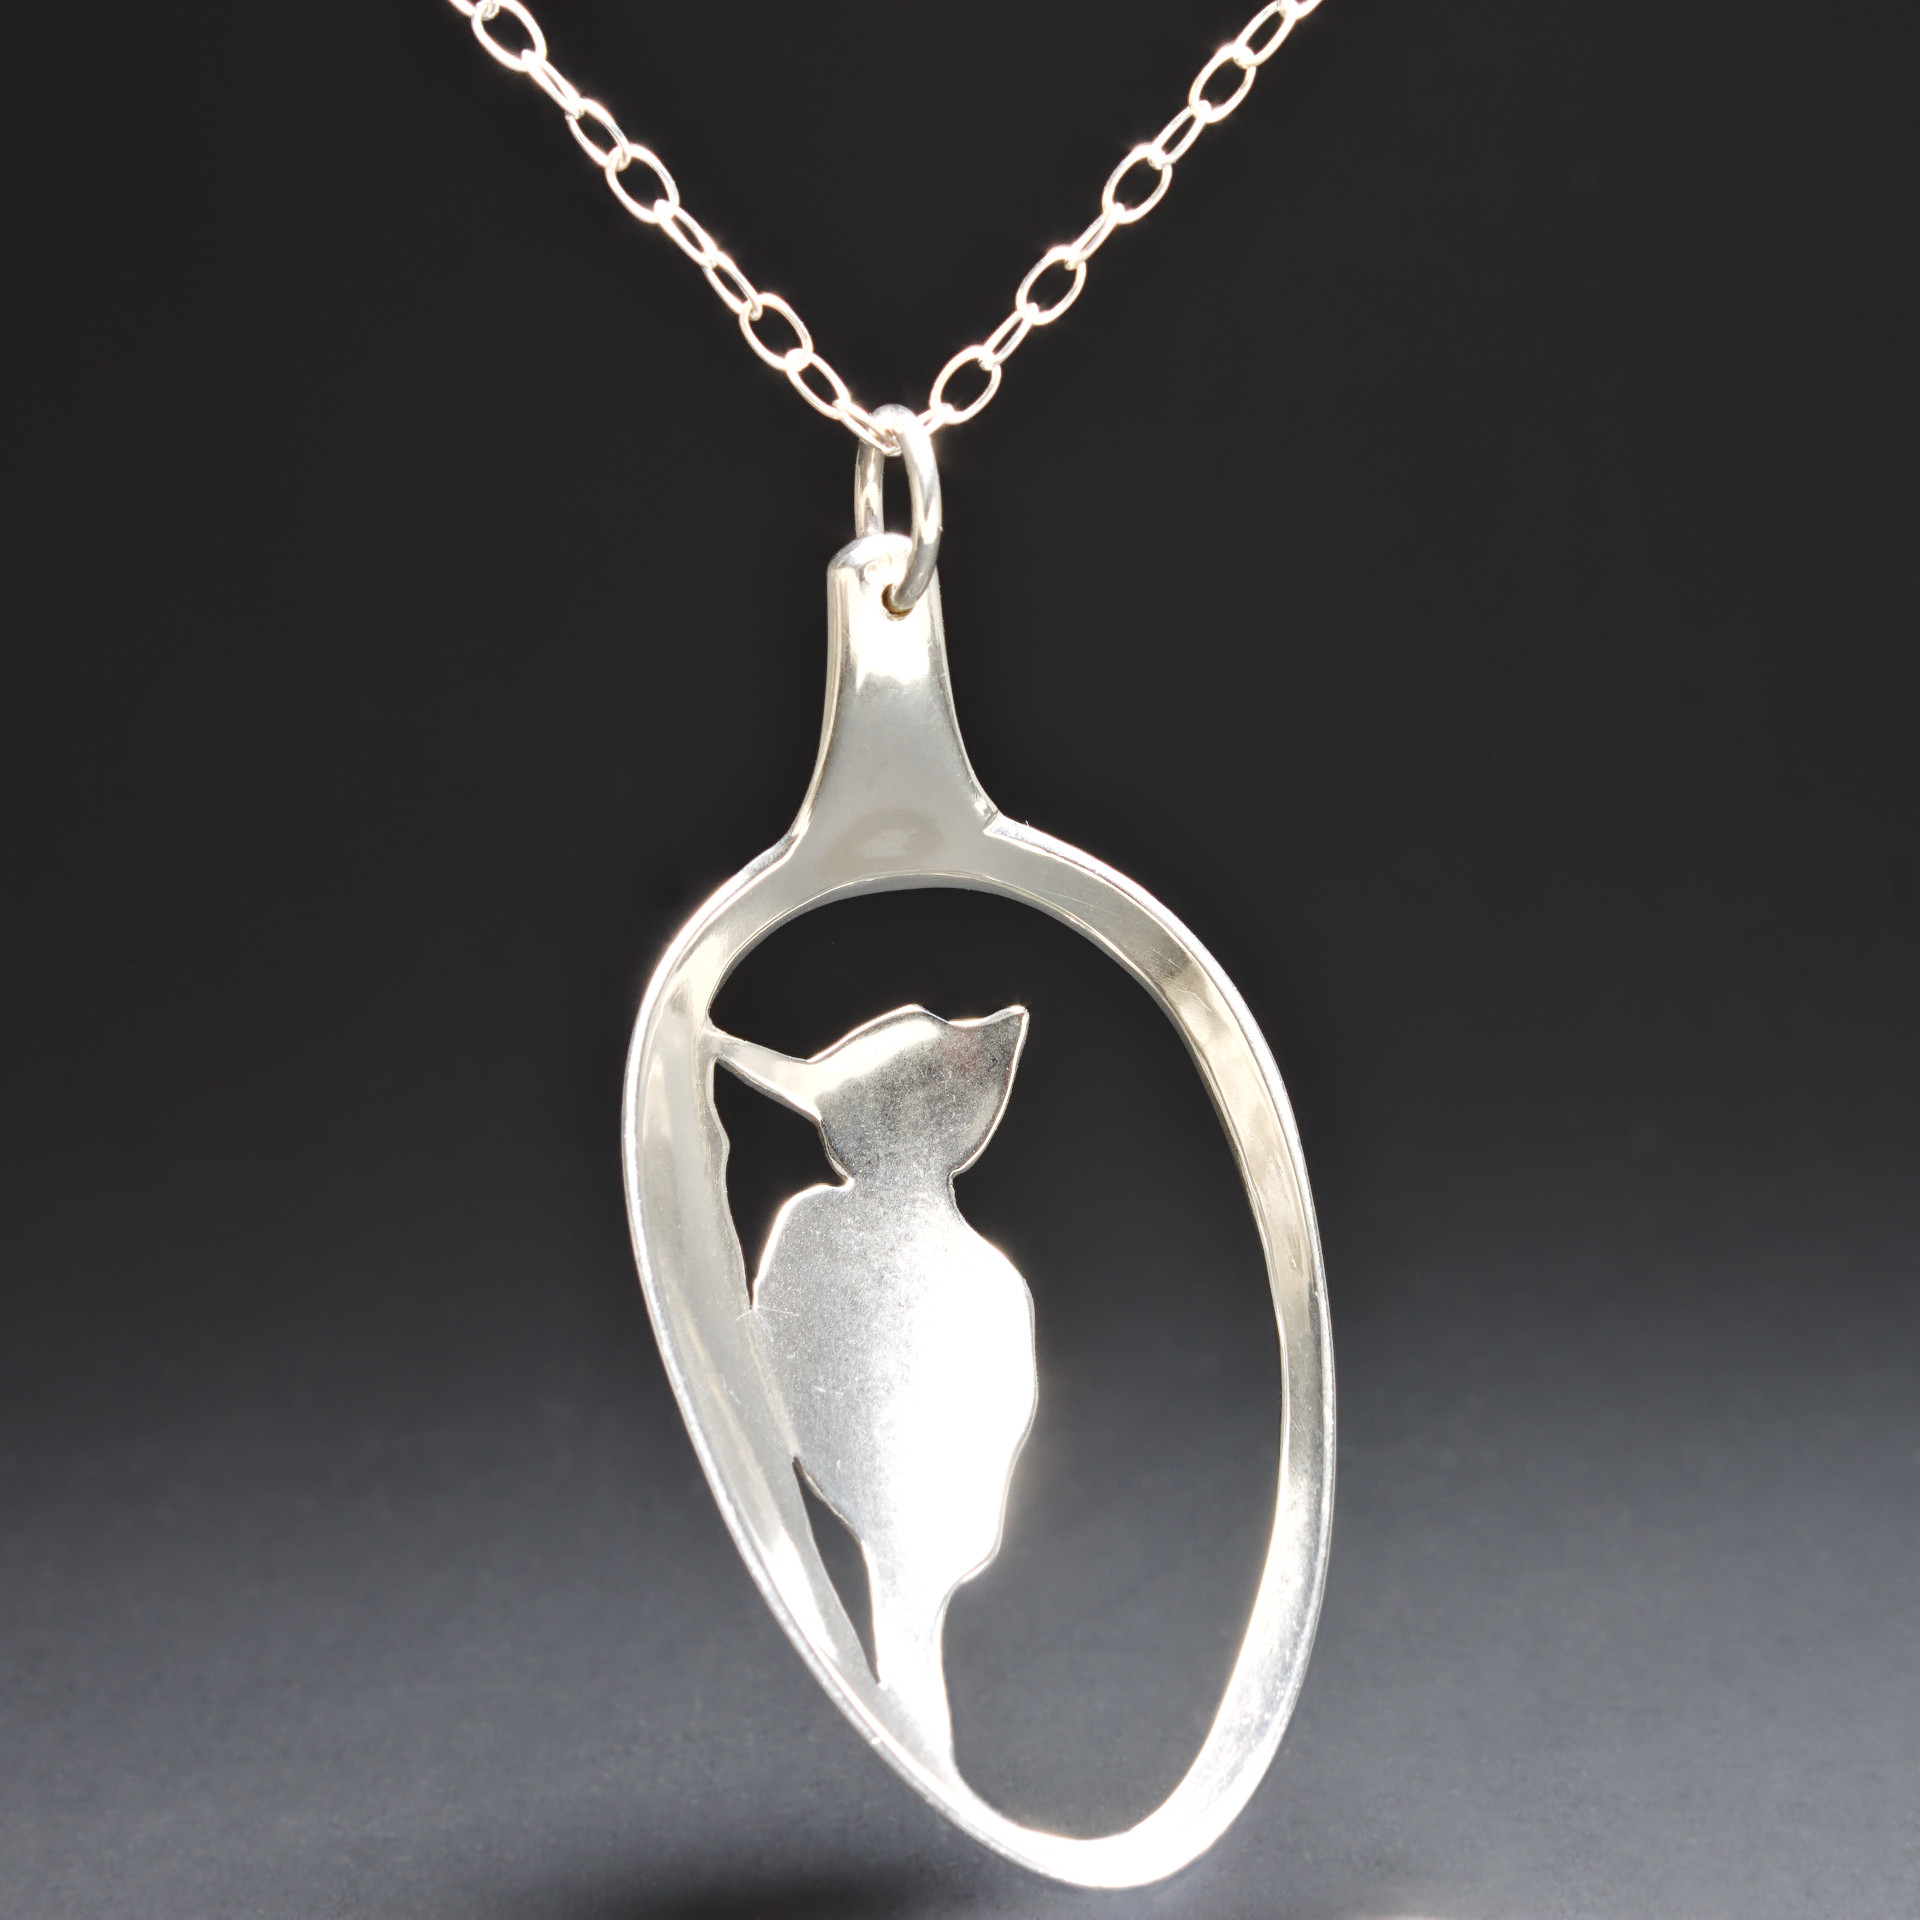
necklace made from a sterling spoon bowl carved with the silhouette of a woodpecker

My latest adventure in copper enameling, sgraffito light switch covers. I begin with a layer of clear and the follow with a layer of opaque color. I incise away the top color to reveal the luminous clear underneath.

The kiln and fired pieces cooling

Here is the opaque color before firing:

3 light switch covers after firing

Before firing, an opaque red switch cover before firing

And after firing
Posted on Leave a comment

Enameling Copper Pipe Rings

Copper enamel bands

To make these rings, I start out with copper pipe. I cut out cross-sections and formed the pipe to shape, convex or concave. I stamp designs into some of them.

After forming the rings, I cleaned them carefully and applied the powdered enamel to the rings.
After firing in the kiln, the glass melts and fuses to the copper.
After firing, the edges need to be sanded down before the next layer of glass is applied and fired.
The rings look so much more beautiful after the second layer of color is applied. I gave the bands a final sanding to remove any sharp edges to finish them.

Posted on Leave a comment

New Embossed Wrap Rings

Finished embossed wrap rings

Now that most of my new pattern rollers fit my Cavallin mill, I have spent a few days on wrap rings. It’s a good thing, too, since I was almost out of them. I am very happy with the results!

The rings in progress

After hand-cranking plain wire through the rollers, I cut and formed the rings into shape. Here, you see a pile of spirals on my anvil… These are so much fun to make.

Antiquing the rings

After forming, I add the dark, antique patina. It adds a nice depth to the embossed designs.

3 of the new style of wrap rings

These rings are adjustable and pretty. Right now, I’m making them in sterling silver and copper. I’m pleased to be able to finish these rings in time for Art on the Green in Hudson, Ohio coming up tomorrow! If you come by and see them at the show, I can size them for you on the spot.

Posted on Leave a comment

On modifying tools…

I’ve been wanting these for so many years. I special ordered them from FiveFoxes to fit my old Cavallin rolling mill.

The new roller in place and ready to use.

After all the measuring, planning, and agonizing, the new pattern rollers arrived in the mail. Much faster than I expected and in perfect condition. I was ready to roll, or so I thought. Most of them were too small to fit on my mill! Luckily, I know a little bit about metal working. I resolved to modify them to fit.

The measurements were all correct, even a bit larger than I ordered. That meant all they needed was just a fraction of a hair’s breadth removed with some abrasive, and I would be embossing wire with beautiful patterns.

Hours of sanding and fitting those rollers

My humble Foredom saved the day. After diligent and tedious sanding, I was able to use the rollers. I can’t wait to make some new rings!

Posted on Leave a comment

Making Plique a Jour Enamel Earrings

Plique a jour is an ancient technique where glass is suspended within a metal frame. For me, the technique is perfect for earrings. The pair I made above are like little stained glass windows of pure silver. Here is how I made them…
I started out with pure silver sheet and pierced out the designs that will be filled with glass.

I filled the pierced spaces with powdered glass enamels and placed the earrings on steel supports called trivets.

Here is how the earrings looked after the first firing. The glass usually doesn’t fill completely the first firing. It takes several firings to completely fill the piercings with glass.

After the piercings were completely filled with glass, I sanded them flush with the sheet metal and refined the outside shapes.

Here’s how they looked after sanding.

The earrings got one more firing to give the glass a final polish. After this step, I burnished the earrings with a glass brush. I made 10k gold posts and heat rivets to suspend the plique a jour designs.

Rosebud plique a jour enamel earrings
Posted on Leave a comment

Making a Cloisonne Enamel Necklace

This year, I decided to set aside some time to work in cloisonne enamel. I documented my journey with photographs as I balanced the technical demands of the medium with my natural inclination to experiment. I didn’t start out with a sketch or a drawing, but I did know I wanted to create a floral design. Here’s how it went:

hammered copper sheet metal shapes, ready for glass enamel
I began by hammer-texturing sheet copper and giving the shapes a gentle dome
First coat of enamel along with the wires and fine silver foil.
copper enamel work with the first colors, translucent white, blue, and lime green.
Adding colors, layer by layer. I think I fired these pieces more than a dozen times.
copper enamel work in progress with more picks and greens added
More colors, this is close to complete.
copper enamel work after grinding
After I finished added colors, I wet-sanded the glass back down to an even, smooth surface. The dull areas are higher and glossy areas haven’t been touched by the sanding belt yet.
copper enamel pieces ready to be set in sterling silver
After griding the enamel down, it got a final fire polish, where I melted the glass just enough to give it a nice gloss. The next step is to make the sterling necklace links and settings.
sterling silver setting for the enamel, ready to be soldered
I laid out sterling silver flattened wire so that each lobe of the pear shape enamel will have two prongs.
cloisonne piece, ready to be set in the sterling frame
After soldering the prongs and bending them upright, I adjusted the setting to match the enamel. Then, I placed it into the setting and bent the prongs over to hold it in place.
enamels in different stages of setting
Here, I have two enamels finished with the prongs secured and polished. The bottom center piece has the prongs bent forward, ready to cut. The top center piece is not set yet.
necklace chain links and clasp
The finished necklace showing the sterling chain links and clasp.
The finished cloisonne enamel necklace
The cloisonne adventure complete, necklace ready for sale.
Posted on Leave a comment

A new approach to art festivals

Art fair booth display

I’ve been working up to this for years, and it’s finally come together. I’ve designed a pop-up booth for exhibiting my work at art fairs. The first voyage and installation was to the Chautauqua Institution in western New York for the Fine Crafts Shows at Chautauqua. The weather was beautiful and sunny, which was a blessing.

Side view of the art fair display of handmade jewelry

I have plenty of tweaks to make to my setup, but the overall idea was well-received. People came up to shop with me and sales were good. I’m now working on adding an awning because the weather won’t always be so perfect.

I sold quite a few pieces at the show, but I still have these earrings. Asymmetrical designs like these are my new direction and I had fun talking to people about wearing different earrings together. In fact, several people mixed and matched their own earring pairs. That was unexpected, but I loved it. I’m so grateful to everyone at Chautauqua who attended the show. I’m also grateful to Crafts Alliance for organizing the event and including my work.