Posted on Leave a comment

From an Award in Pittsburgh to Columbia Festival of the Arts in Maryland

This is a whirlwind week where I have a chance to reflect on my booth at 3 Rivers and make new pieces for Columbia.

The highlight of 3 Rivers was receiving an award for the best use of recycled materials. Considering the caliber of talent displayed in the Artist Market, I feel honored. I use recycled materials because of the challenge it presents to my creativity, and to be recognized for this warms my heart.

My new copper enamel light switch plates received plenty of attention, and I will be posting many of them for sale in my store soon. People had many different requests, so I’ll be working on the best ways to take custom orders.

I also got to see Randy Land, which was a short walk from where I was staying during the festival. What fun colors and installations!

As I direct my attention to the Columbia Festival of the Arts starting this Friday, I’m making new wrap rings in sterling and copper.

Posted on Leave a comment

Between Lake Wawasee and Three Rivers

A moment to catch a photo at Wawasee

With the first 2 shows complete, I’m now preparing for Three Rivers Art Fair in Pittsburgh. Last weekend at Chautauqua Wawasee was lovely. Perfect weather, talented neighbors, and a friendly crowd all made for a splendid day.

My new display continues to evolve as I add new work

I’m loving the mesh panels as I get better at setting them up. They give me more versatility and space to display. I’ll have even more work to show at Three Rivers June 5-9!

Posted on Leave a comment

Back Porch Enameling

Summer is just around the corner, so I’ve set up a small kiln outdoors. I was a little nervous about it at first, but then, I hit my stride and enjoyed the view.

The outlet cover on the left was flattened with a weight while still soft after firing. The one on the left cooled without weighing it down.

To my delight, the new weight I had made for me flattened all my new pieces easily.  With some practice, I got the timing just right without cracking the glass.

Posted on Leave a comment

Enameling Copper Pipe Rings

Copper enamel bands

To make these rings, I start out with copper pipe. I cut out cross-sections and formed the pipe to shape, convex or concave. I stamp designs into some of them.

After forming the rings, I cleaned them carefully and applied the powdered enamel to the rings.
After firing in the kiln, the glass melts and fuses to the copper.
After firing, the edges need to be sanded down before the next layer of glass is applied and fired.
The rings look so much more beautiful after the second layer of color is applied. I gave the bands a final sanding to remove any sharp edges to finish them.

Posted on Leave a comment

Making a Cloisonne Enamel Necklace

This year, I decided to set aside some time to work in cloisonne enamel. I documented my journey with photographs as I balanced the technical demands of the medium with my natural inclination to experiment. I didn’t start out with a sketch or a drawing, but I did know I wanted to create a floral design. Here’s how it went:

hammered copper sheet metal shapes, ready for glass enamel
I began by hammer-texturing sheet copper and giving the shapes a gentle dome
First coat of enamel along with the wires and fine silver foil.
copper enamel work with the first colors, translucent white, blue, and lime green.
Adding colors, layer by layer. I think I fired these pieces more than a dozen times.
copper enamel work in progress with more picks and greens added
More colors, this is close to complete.
copper enamel work after grinding
After I finished added colors, I wet-sanded the glass back down to an even, smooth surface. The dull areas are higher and glossy areas haven’t been touched by the sanding belt yet.
copper enamel pieces ready to be set in sterling silver
After griding the enamel down, it got a final fire polish, where I melted the glass just enough to give it a nice gloss. The next step is to make the sterling necklace links and settings.
sterling silver setting for the enamel, ready to be soldered
I laid out sterling silver flattened wire so that each lobe of the pear shape enamel will have two prongs.
cloisonne piece, ready to be set in the sterling frame
After soldering the prongs and bending them upright, I adjusted the setting to match the enamel. Then, I placed it into the setting and bent the prongs over to hold it in place.
enamels in different stages of setting
Here, I have two enamels finished with the prongs secured and polished. The bottom center piece has the prongs bent forward, ready to cut. The top center piece is not set yet.
necklace chain links and clasp
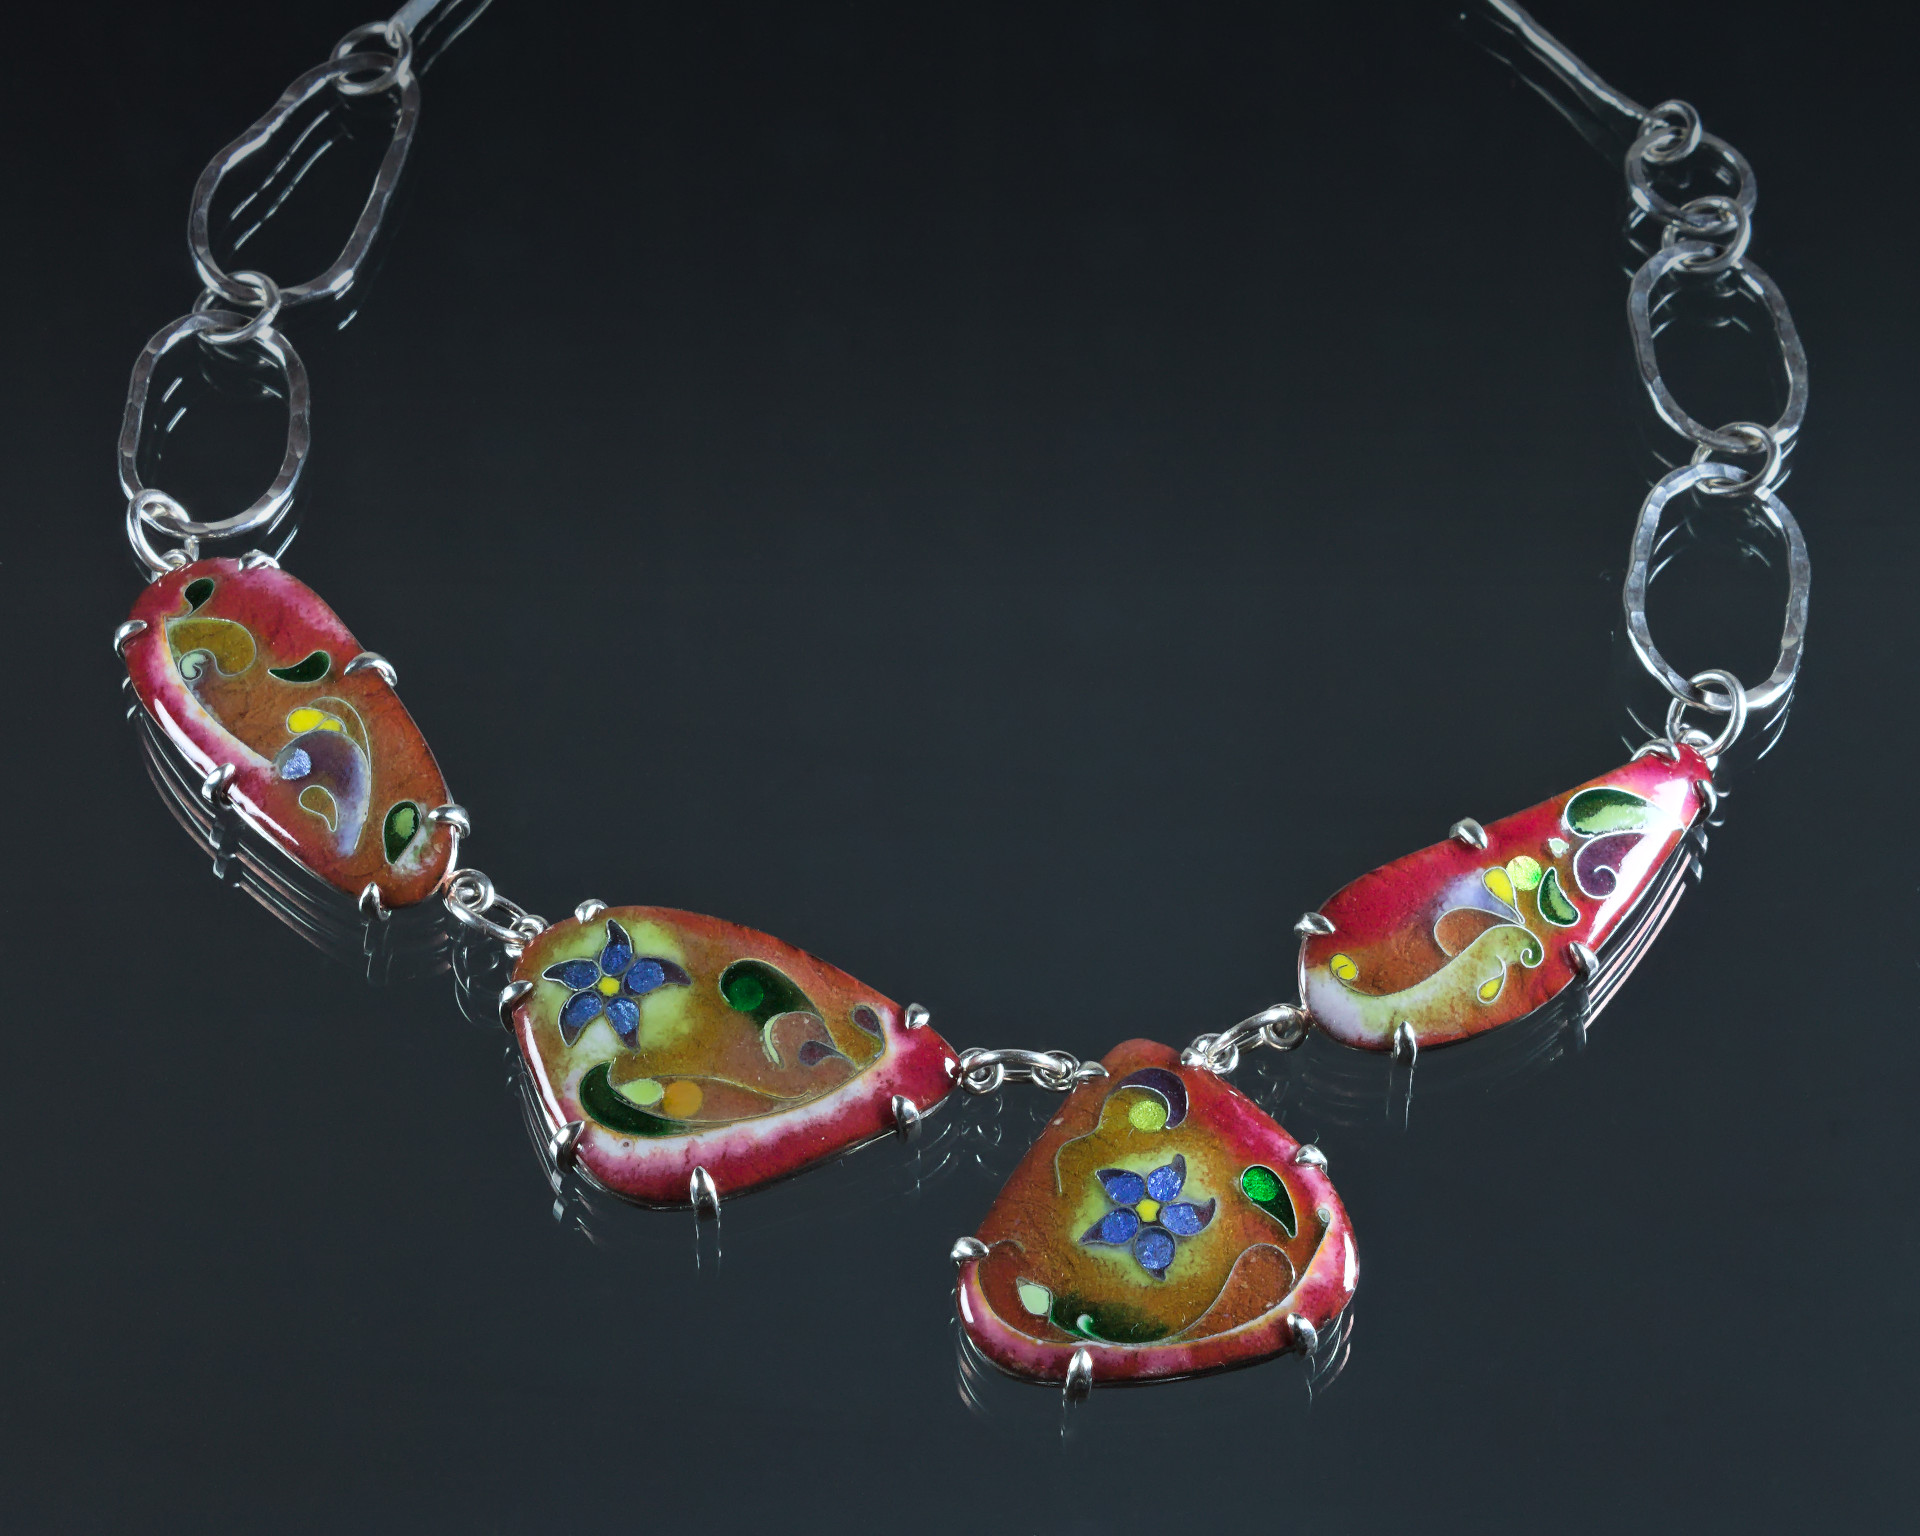
The finished necklace showing the sterling chain links and clasp.
The finished cloisonne enamel necklace
The cloisonne adventure complete, necklace ready for sale.