Posted on Leave a comment

Copper Enamel Ornaments: How I Make Them

I began the ornaments by cutting them out of my stash of reclaimed roofing copper. I like to create freeform oval shapes. For some, I drilled holes, and for others, I used a punch and die to cut the holes for hanging the ornaments.
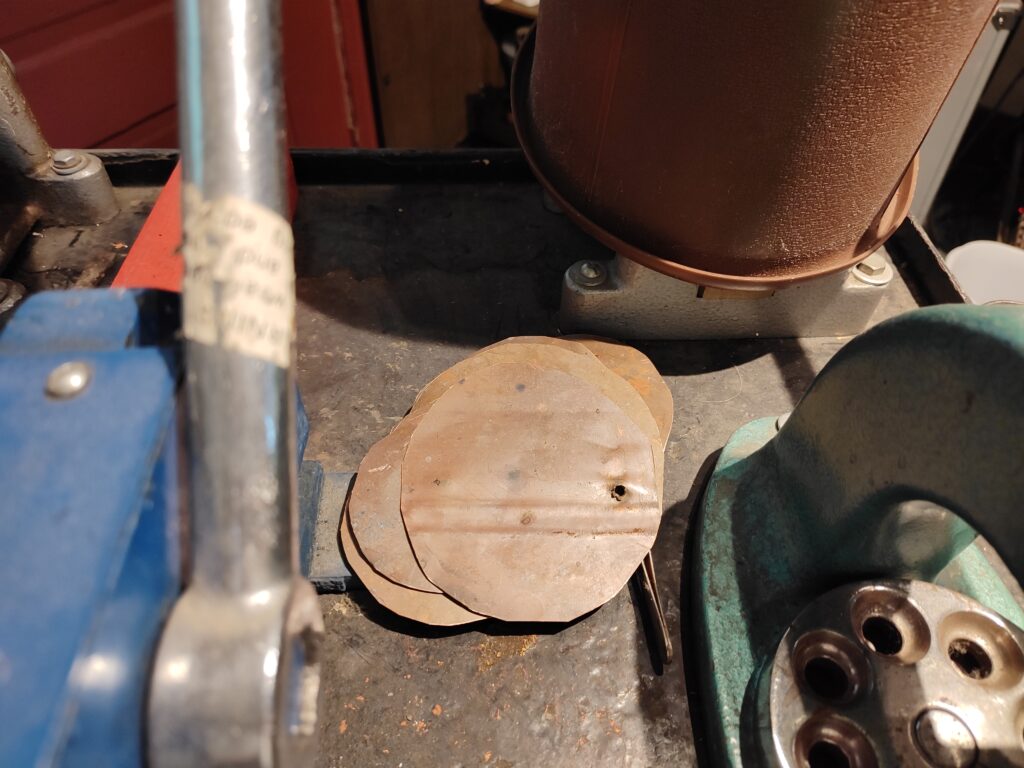
The shape was refined later, since the edges need to be sanded after each firing. After cutting, I annealed them in the kiln to remove grease, oil and residue before cleaning them in a corrosive salt solution.
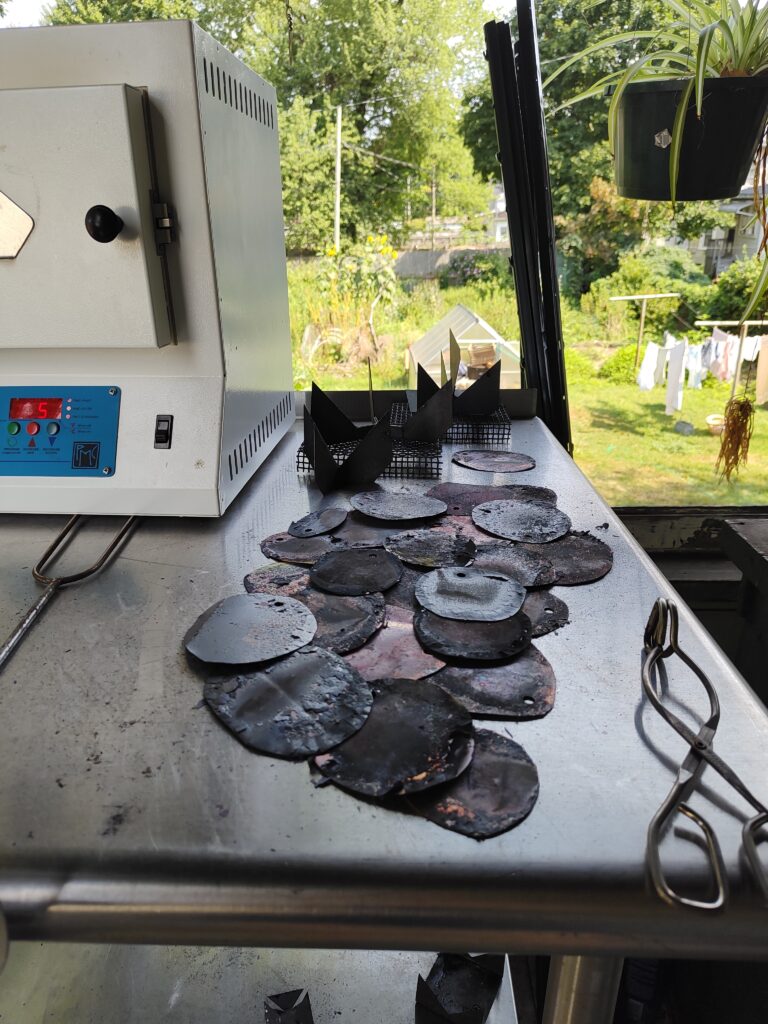
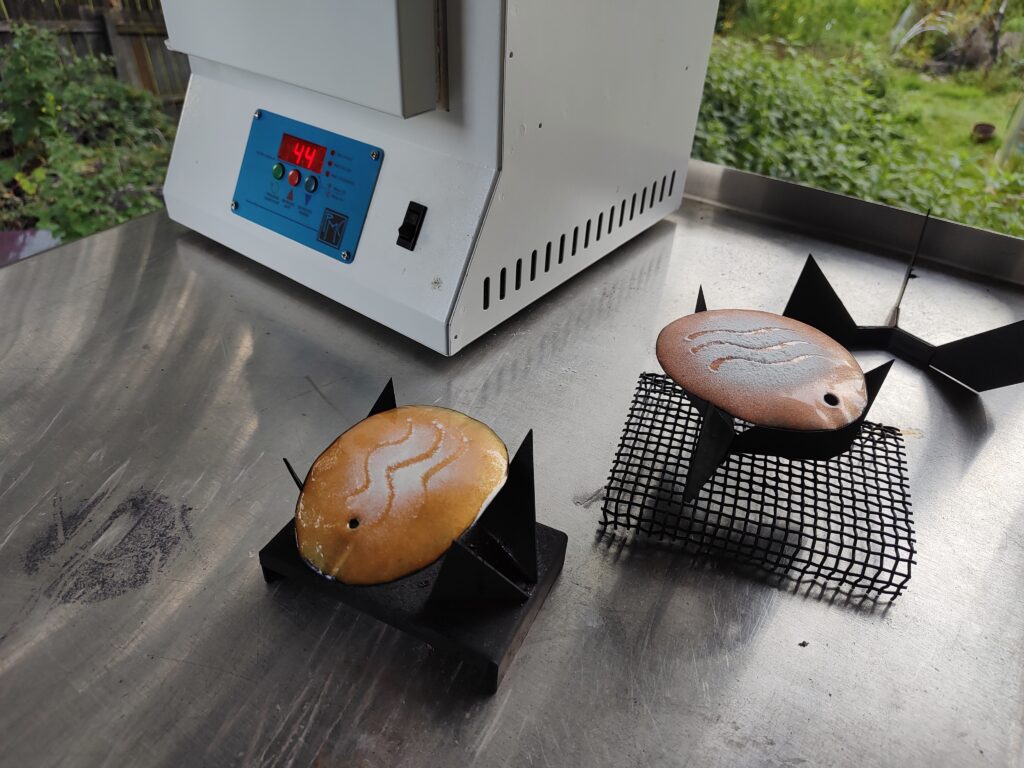
After the copper is clean, I fired layers of transparent enamel on the front and back. I followed that with a layer of opaque enamel to provide a contrast to the reflective metal shining through the first layer of transparent glass. I often scratch through the enamel before firing. In the image below, the ornament on the right is before firing, the one on the right is after firing. Both pieces are mounted on kiln furniture that allows the glass to melt freely on both sides of the ornaments.
After the opaque layer, I’ll add another layer of transparent color. And on top of that, I use separation enamel that causes the colors to mix during the final firing.
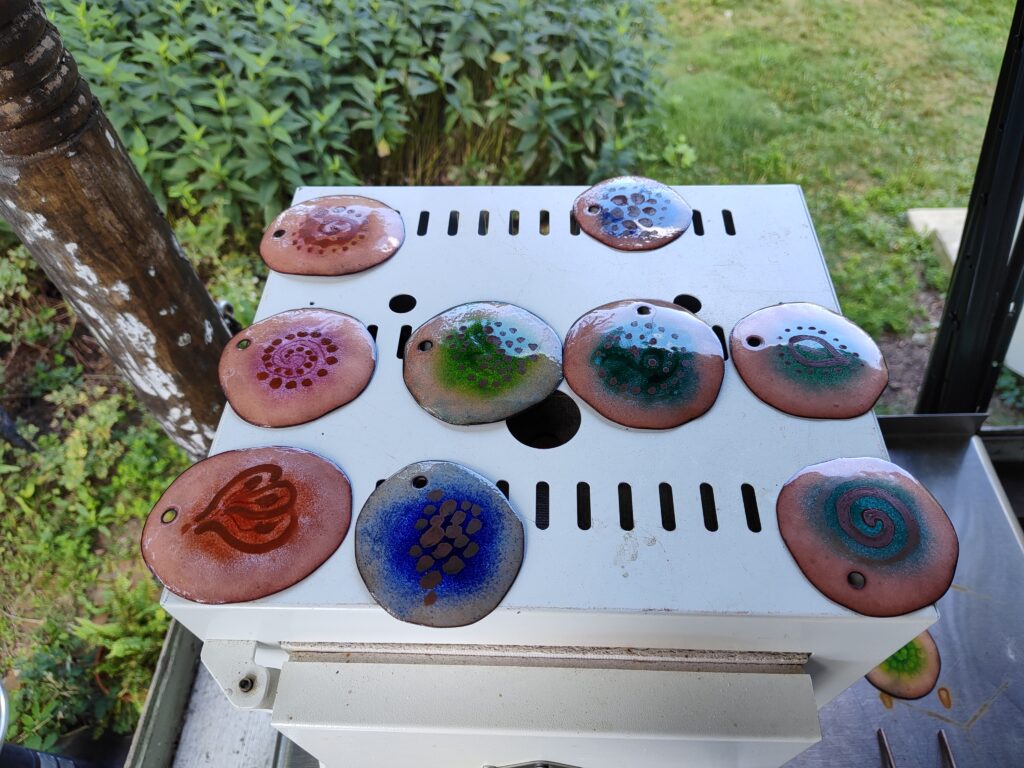
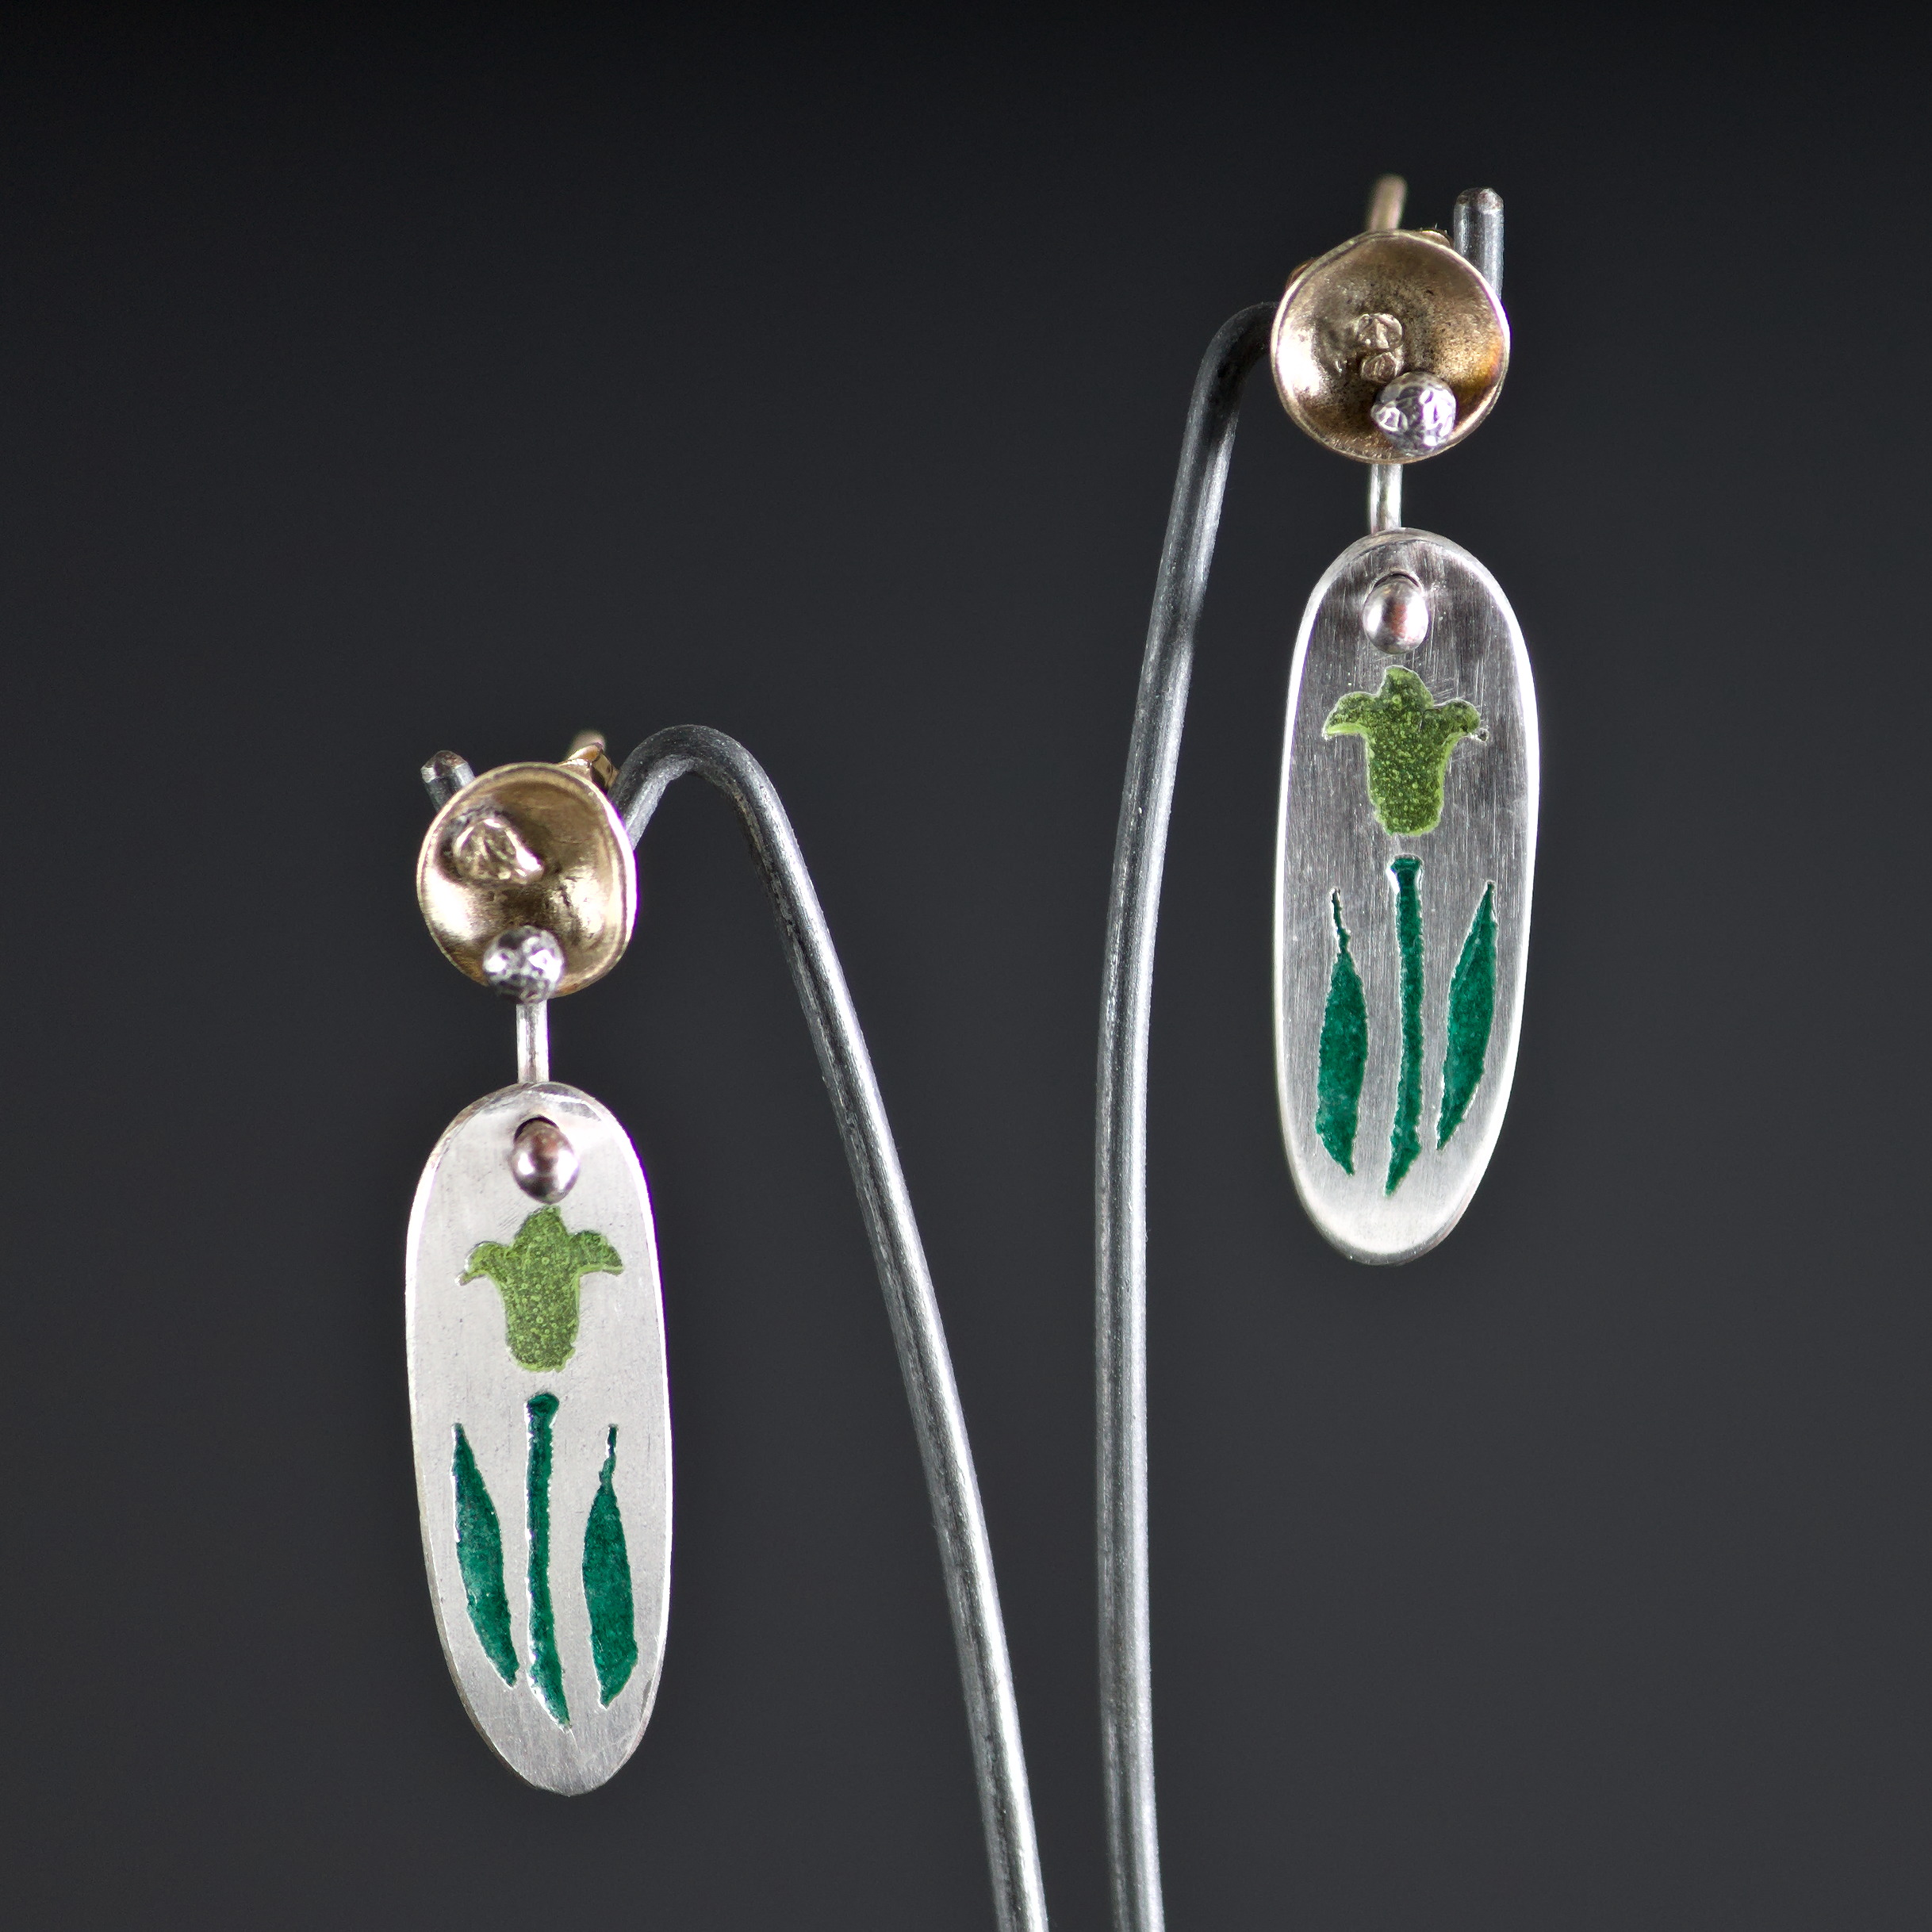
You can see some of the finished ornaments on this page:

https://kristinellis.com/product-category/copper-enamel-objets-dart
Posted on Leave a comment

Experiments in Counterenamel

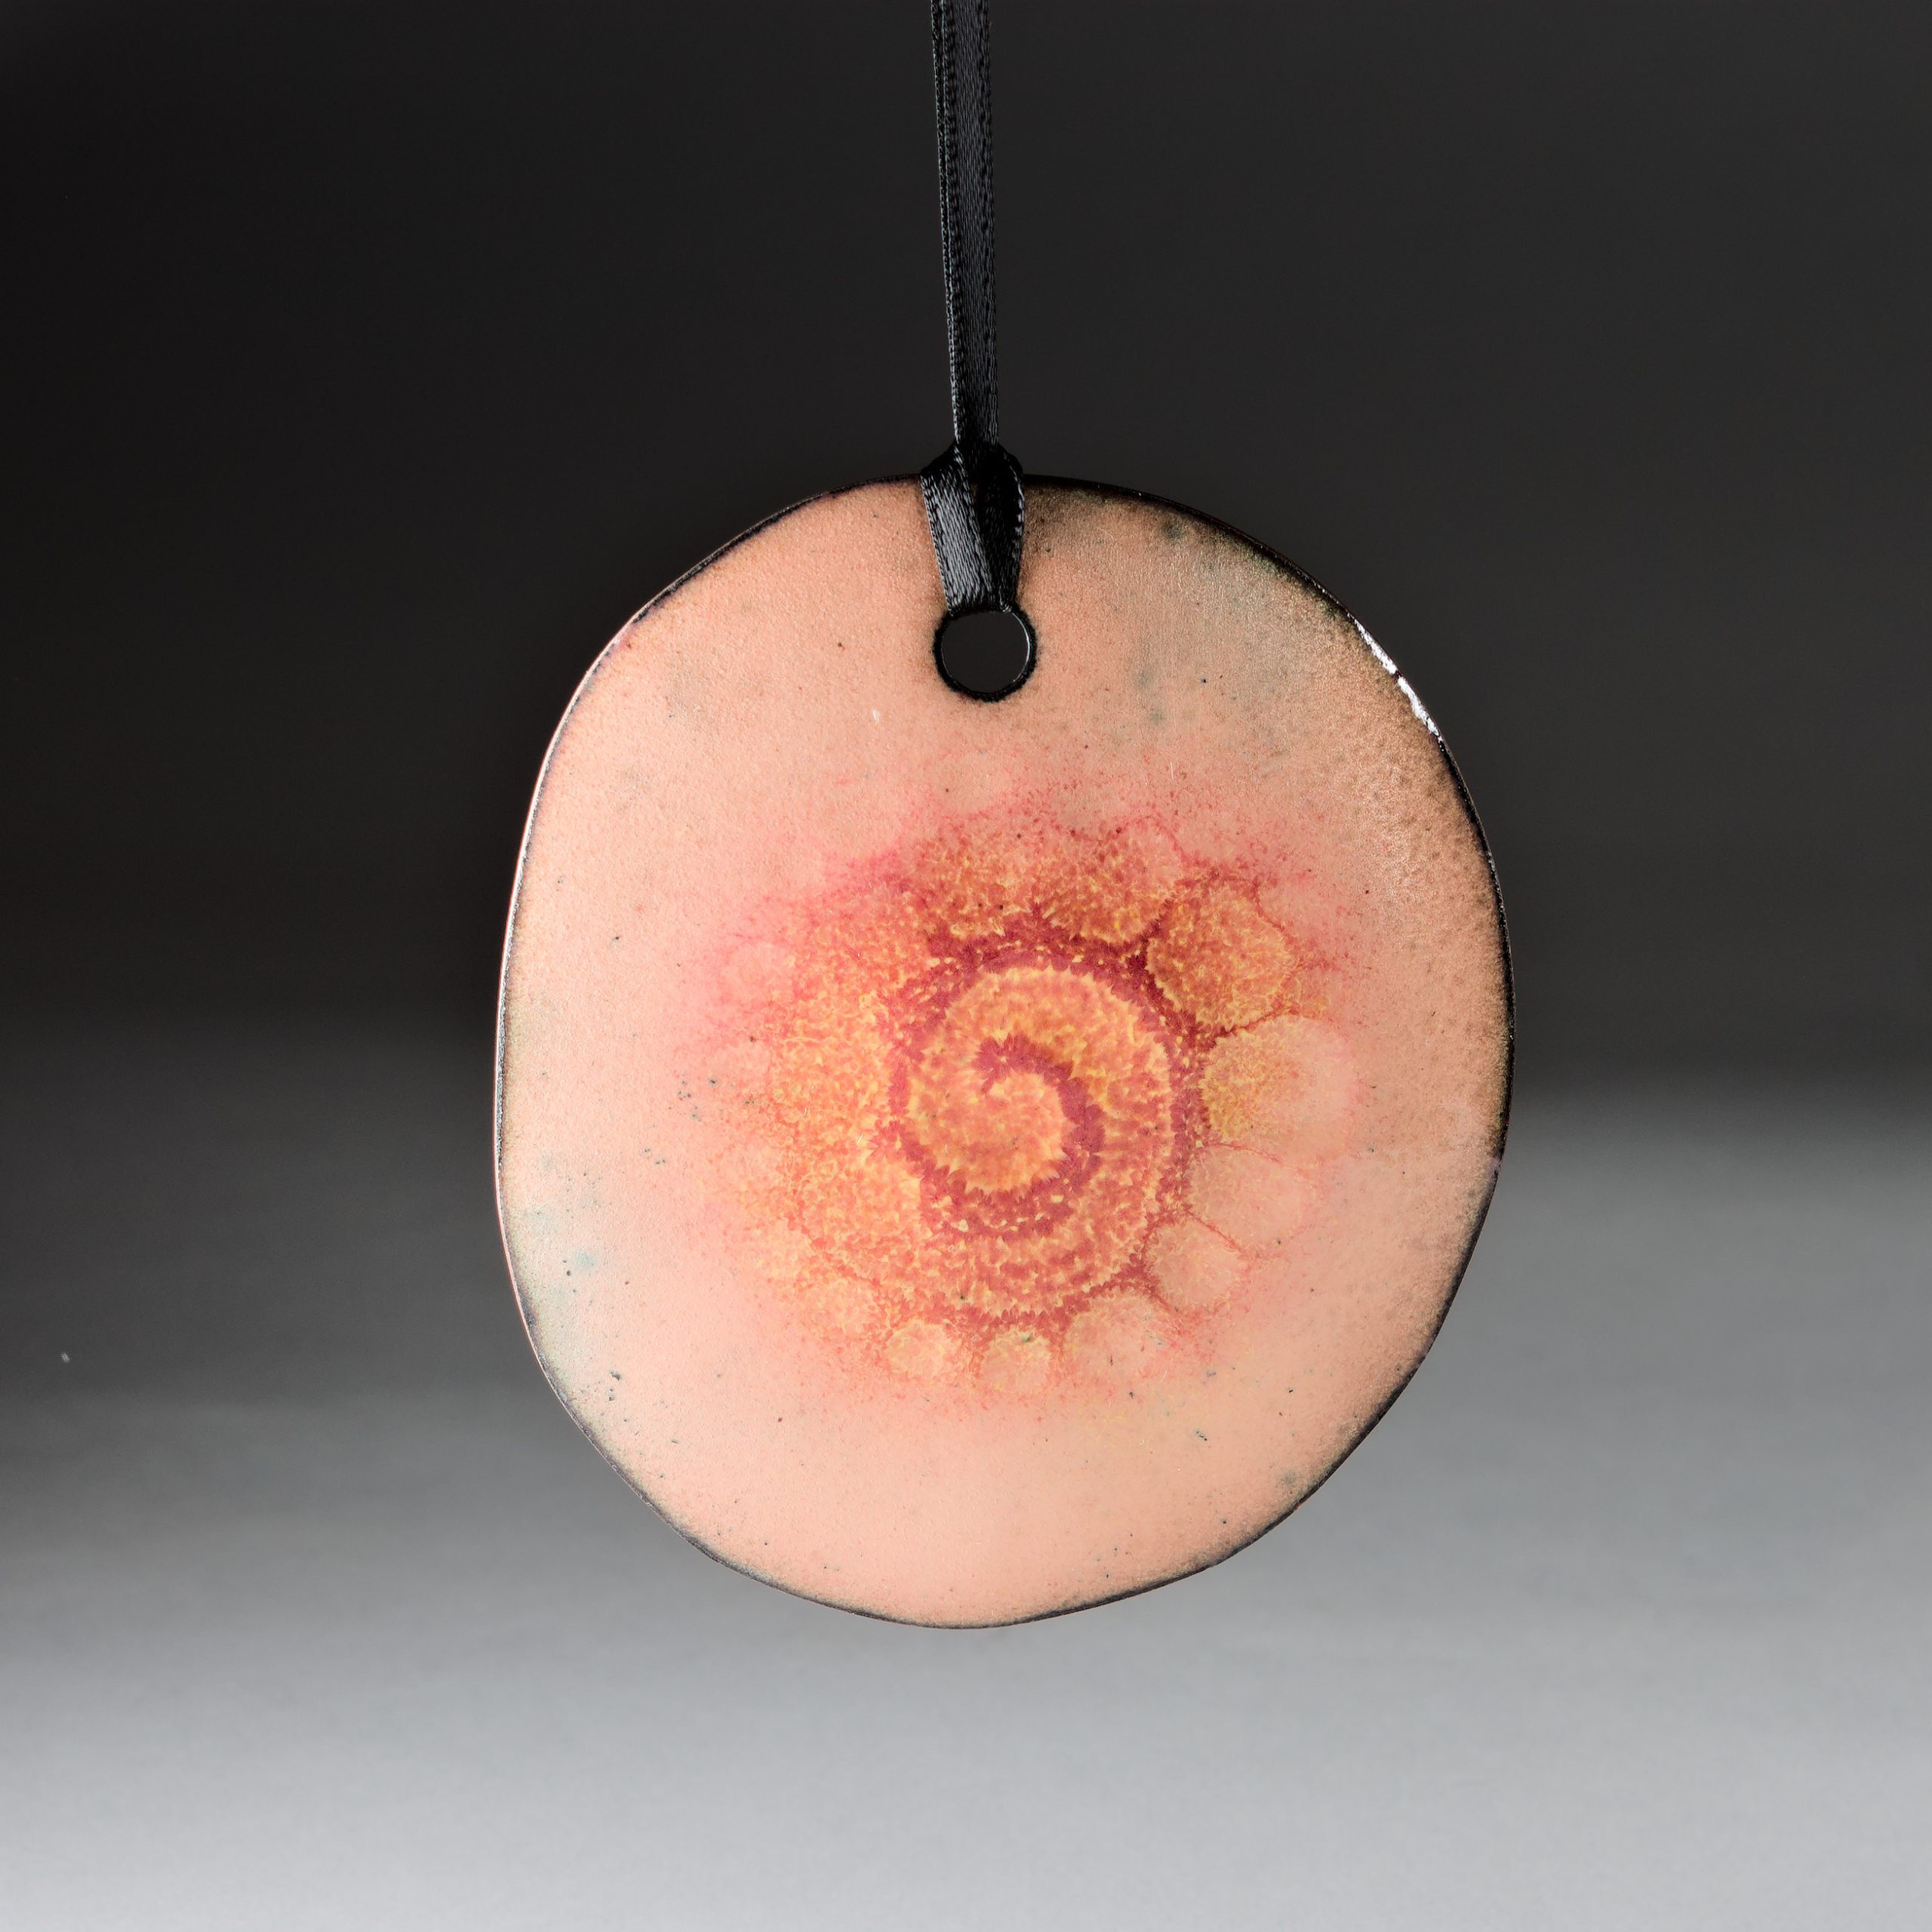
decorative ornament made from copper and enameled in glass

For most enamel work, glass must be fired onto both the front and back. This balances the expansion coefficients of the glass and metal. Tension between the two materials always exists in finished enamels.

Counterenamel is often functional, not aesthetic, especially where it won’t be seen.

The back of a light switch cover with 2 layers of counterenamel

As you can see above, I have been working with different approaches to Counterenamel. I have 5 pounds of discontinued Thompson LF 500 Counterenamel, but it likes to flake off after the second or third firing. I. That case, I have to fire another coat of different Counterenamel.

I found the solution to the LF 500 problem. I set the kiln at 1700 degrees fahrenheit and fired the Counterenamel first. Once cool, I cleaned the oxides off the front in sodium bisulfite pickle solution and proceeded to complete my design.

In some cases, I use oxide patterns in the final design, but the LF500 does its job regardless. I’m looking forward to using this vintage enamel for many future artworks!

Posted on Leave a comment

Making Plique a Jour Enamel Earrings

Plique a jour is an ancient technique where glass is suspended within a metal frame. For me, the technique is perfect for earrings. The pair I made above are like little stained glass windows of pure silver. Here is how I made them…

I started out with pure silver sheet and pierced out the designs that will be filled with glass.

I filled the pierced spaces with powdered glass enamels and placed the earrings on steel supports called trivets.

Here is how the earrings looked after the first firing. The glass usually doesn’t fill completely the first firing. It takes several firings to completely fill the piercings with glass.

After the piercings were completely filled with glass, I sanded them flush with the sheet metal and refined the outside shapes.

Here’s how they looked after sanding.

The earrings got one more firing to give the glass a final polish. After this step, I burnished the earrings with a glass brush. I made 10k gold posts and heat rivets to suspend the plique a jour designs.

Rosebud plique a jour enamel earrings