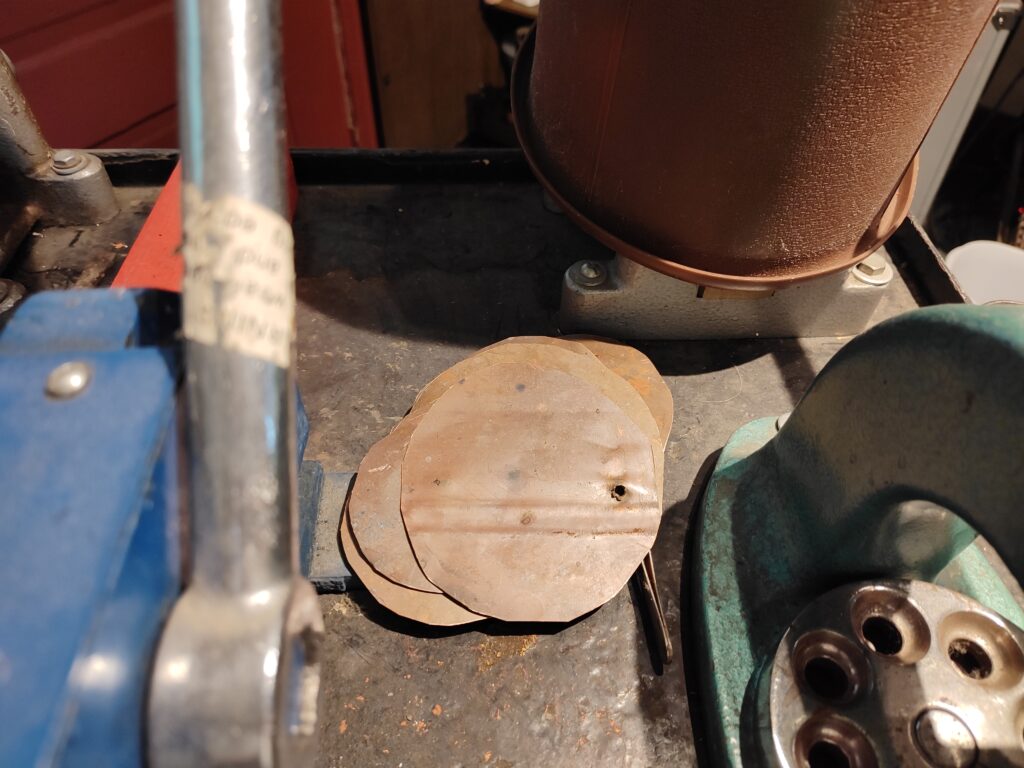
I began the ornaments by cutting them out of my stash of reclaimed roofing copper. I like to create freeform oval shapes. For some, I drilled holes, and for others, I used a punch and die to cut the holes for hanging the ornaments.

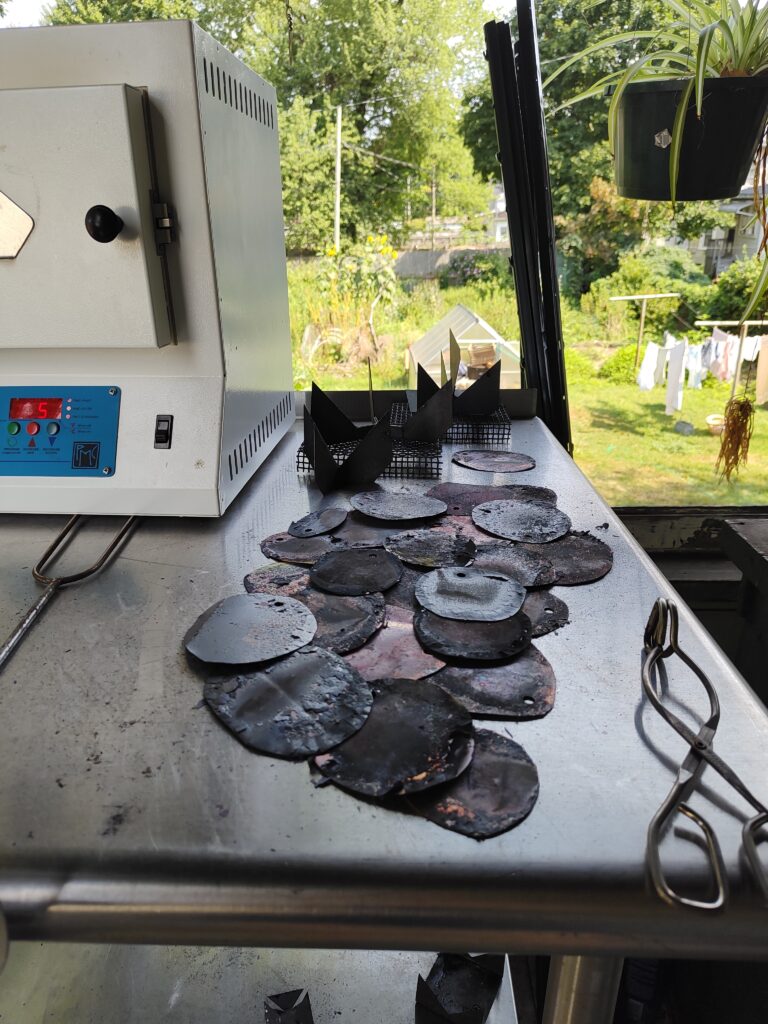
The shape was refined later, since the edges need to be sanded after each firing. After cutting, I annealed them in the kiln to remove grease, oil and residue before cleaning them in a corrosive salt solution.

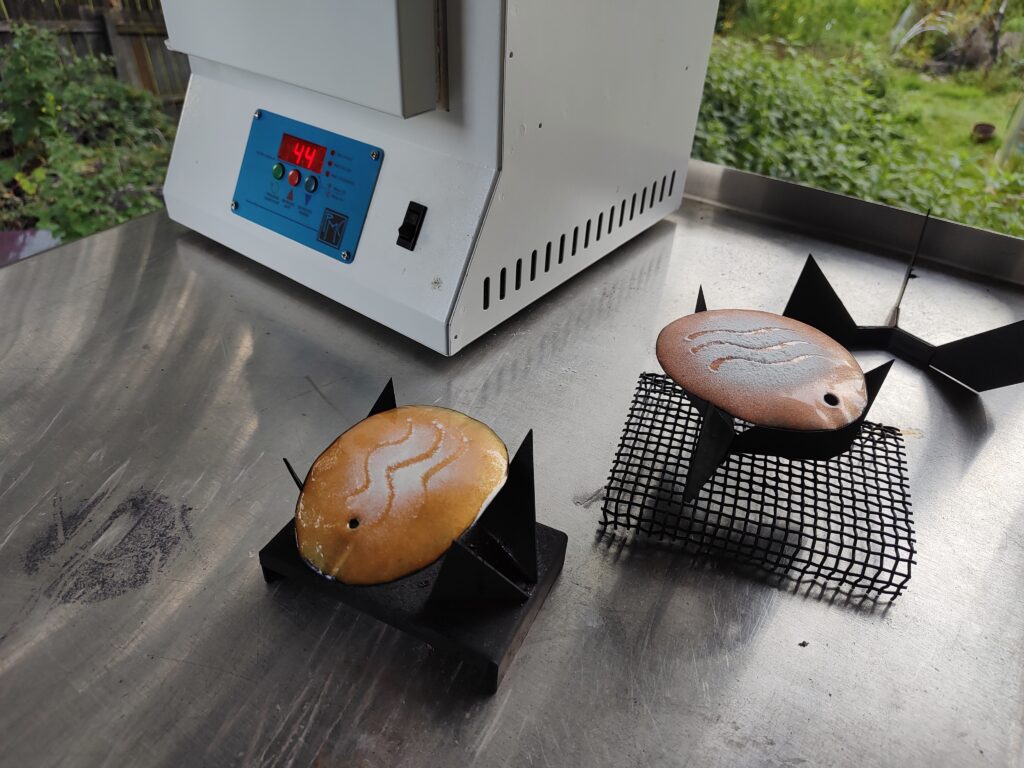
After the copper is clean, I fired layers of transparent enamel on the front and back. I followed that with a layer of opaque enamel to provide a contrast to the reflective metal shining through the first layer of transparent glass. I often scratch through the enamel before firing. In the image below, the ornament on the right is before firing, the one on the right is after firing. Both pieces are mounted on kiln furniture that allows the glass to melt freely on both sides of the ornaments.

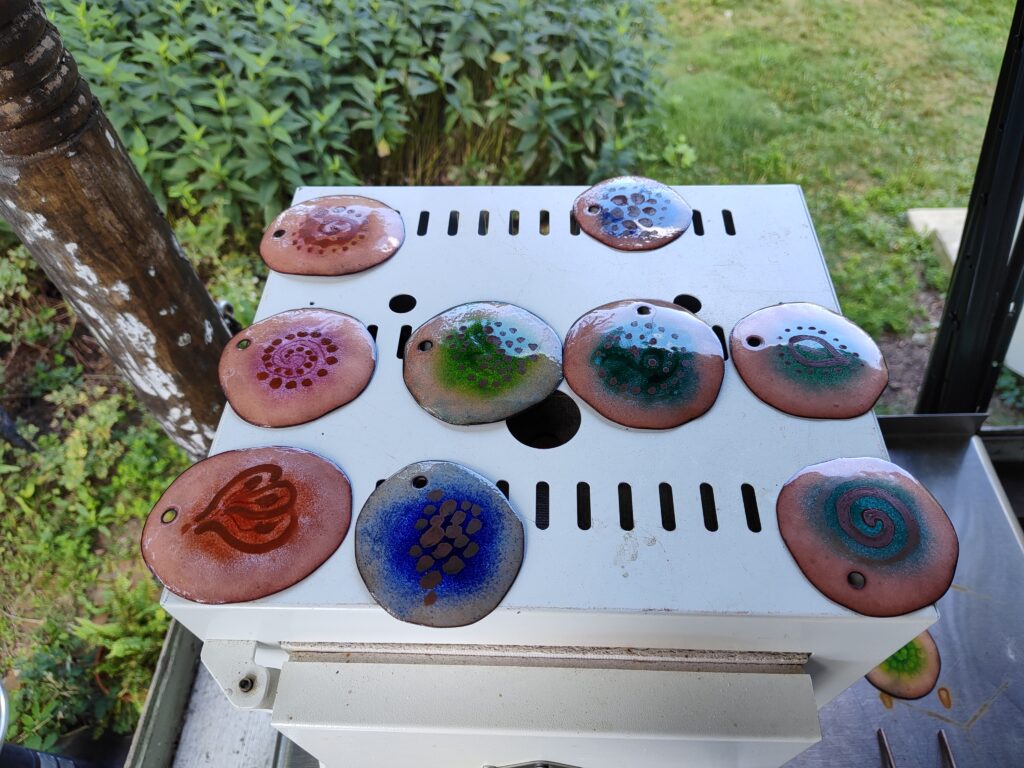
After the opaque layer, I’ll add another layer of transparent color. And on top of that, I use separation enamel that causes the colors to mix during the final firing.

You can see some of the finished ornaments on this page:
https://kristinellis.com/product-category/copper-enamel-objets-dart